

Hello, Crafty Christmasers! It's Stephanie here from The Naked Seamstress. I have another x-mas present made: placemats for my mum.
I documented the whole process so I could put together a little tutorial for you here. Christmas is coming up very, very soon, but these placemats are easy to whip up as a last minute present. I made two different sets for my mum: a spring set (flowers!) and a Christmas set (red and white stars!). I'd already made her a set earlier this year for her birthday and she hasn't stopped telling me since how much she would really, really fancy more of these placemat sets. So what better Christmas present could she get?!
So, here for the tutorial: You need 8 pieces of fabric in a placemat-friendly size, 4 for the front and 4 for the back. I made mine 30x40cm, but different measurements will do too. You could use placemats you have at home as templates. You also need 4 pieces of batting in the same size.

Next, you need to draw a grid onto 4 of the fabric pieces with chalk. This will help you quilt your placemats evenly.

Then you sandwich a layer of batting between two pieces of fabric, one with chalk marks and one wihtout, and pin it in place with 3-4 pins.

Next, - and this is a very important part - iron this fabric-batting sandwich with as much pressure as you can muster. This will help avoid fabric bunching and keep your batting nice and flat while sewing. I negelcted this step with the first set (the Christmas set) I made with this batting and it ended up being quite bunchy (scroll down for pics).

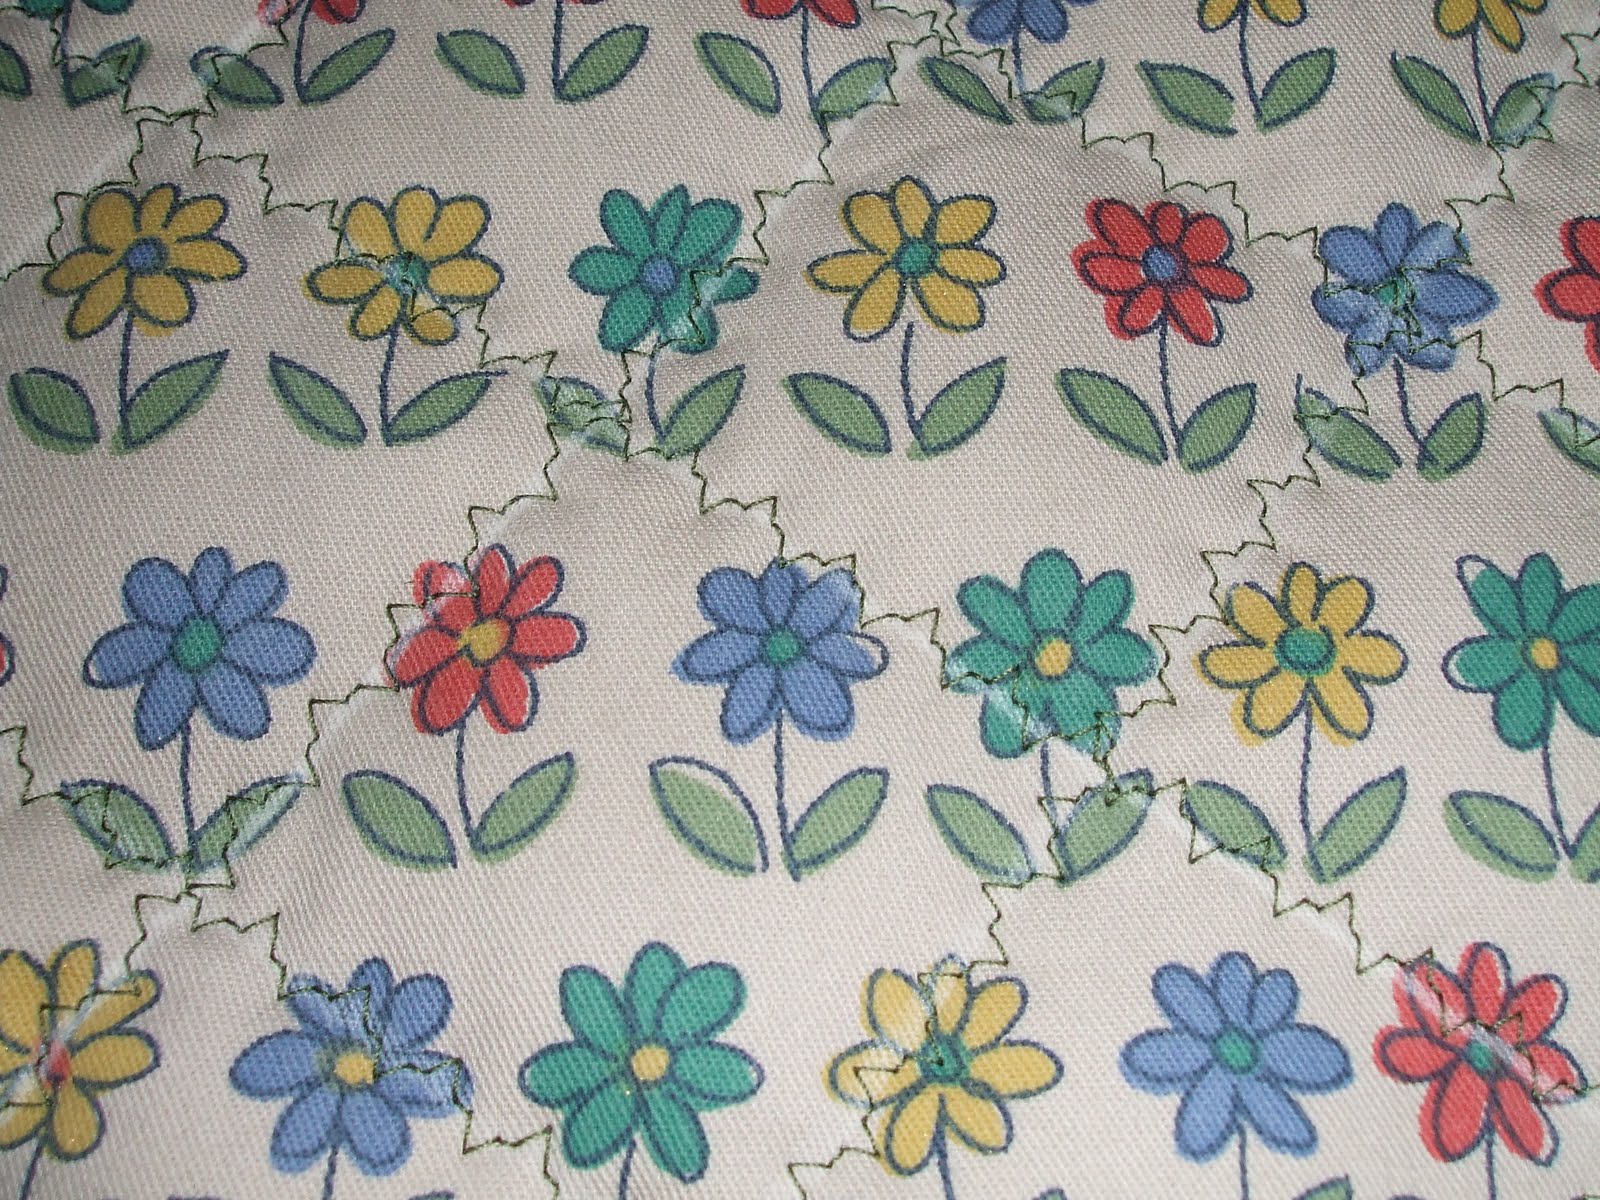
Once ironed take your placemat straight to the sewing machine and sew along the chalk lines. I sewed all lines in one direction first and then in the other. You can use a straight stitch, a zigzag stitch or any decorative stitch your sewing machine has. I used a fun decorative stitch on my spring set.
Repeat all steps for every placemat you are making.

When you are finished cut your placemats to the desired size. It's best to cut your placemats when you have already quilted them, because the quilting might make your layers shift resulting in uneven edges (see above).

When you cut them into shape after quilting all your placemats will have the exact same shape. I used an oval shape for my placemats, but any other shape would be fine too.

Once they are cut the only thing that remains is to apply bias binding around the edge. Unfortunately I have no pictures of this part of the process, but luckily Lauren from Wearing History has recently put together some excellent bias binding tutorials. This one is super useful for making these placemats.


Wishing you all a MERRY CHRISTMAS!
Love them!
ReplyDeleteI've bought some of that red and white fabric and made a table runner out of it so I might have to give some matching placemats a whirl for next year!
Hi,
ReplyDeleteVery nice blog. I love your ideas - simple and back to basics . Great ideas
Those are so cute! I love the bright colors. And you’re right, you could make some for the holidays, too!
ReplyDeleteEnorm bedankt hiervoor. Ik wil in mijn oma's voetsporen treden en haar quilt/patchwork skills overnemen. Deze helpt heel goed!
ReplyDelete