
I had 14 inch pillow forms (on sale for 40% off frequently at Joann's) in my closet so that was the size I was going for but because these include a border you can easily customize them to a larger size.
Choose some coordinating fabrics (I just used two but you can use up to nine) and cut four 4 1/2 inch blocks out of one and 5 4 1/2 inch blocks out of the other

 . Lay them out in an alternating pattern and then stack them by row. I used batiks so both sides are good but if there is a right side/wrong side make sure you sew good sides together.
Then sew the top two in each of the three stacks together in a chain. My chain has six sewn pairs on it because I was trying to streamline the process by making two pillows at once.
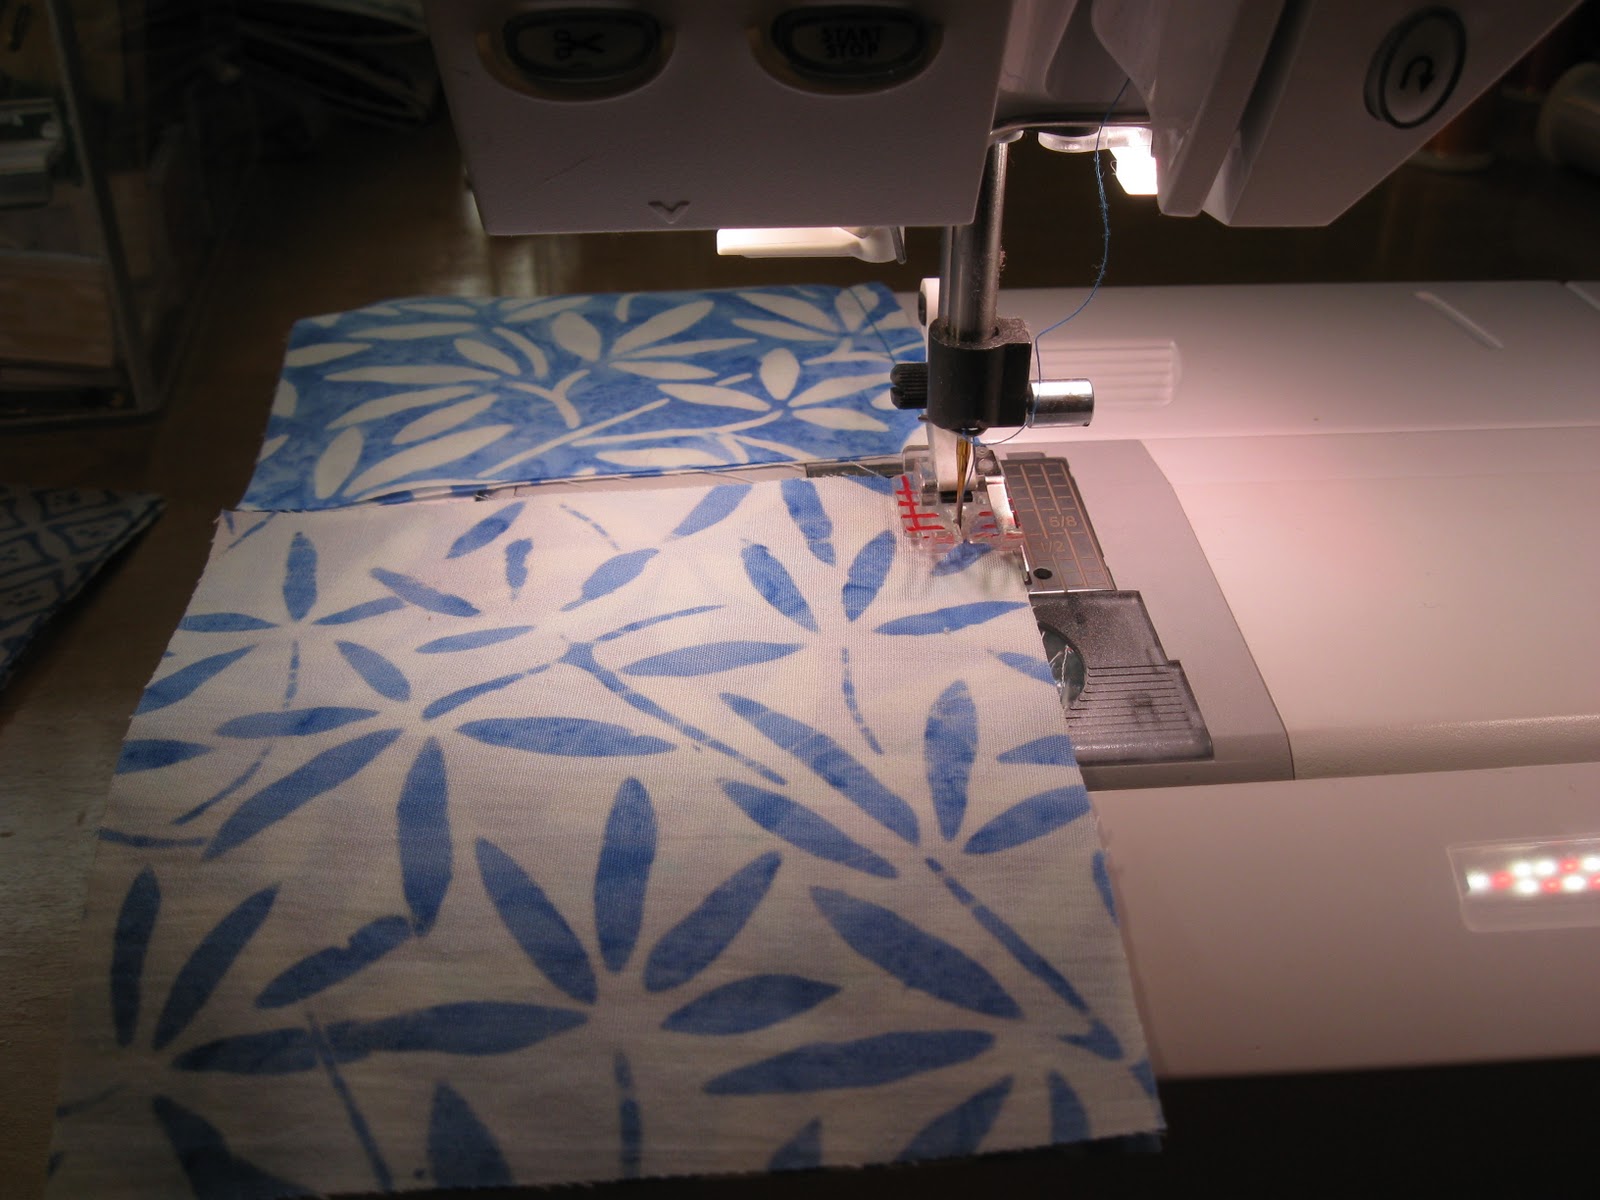

There should be a 1/4 inch seam for all sewing for this project - I used a quarter inch foot but you don't need to. Most important is that your seam is consistent. Once you've sewn your blocks snip in between them to separate.
Pick either light or dark and press all the blocks in the same direction (either to dark or to light). This will make your final pillow neater in appearance and will make lining the grid up easier.
Next, add your third square on each row. Make sure that you are not sewing the same two squares together. Press to the same color square you used on the previous step.

You block should be almost exactly 14 inches at this point. But pillows are puffy and you need a little extra size for that plumpness. I added a 2 inch strip around all the sides of mine. Remember - this doesn't add 2

After pressing one more time, I like to add a layer of fusible interfacing to the wrong side of the top. If you are using quilting weight cotton and/or light colors this adds a little body and opaqueness.
Your back consists of two rectangles that will overlap so you can slide the pillow in and out but not see the form. I made mine 15 1/2 X 10. I then


Great tutorial! Love the pillows!!! I'm thinking my Mum would like these, so I'm pinning to remind me. Thanks for sharing.
ReplyDeleteThanks for such a lovely tutorial! Very helpful.
ReplyDelete