
I'm using the same fabrics as they are both destined as a birthday present for my mum.
First, cut out your fabric. You need:
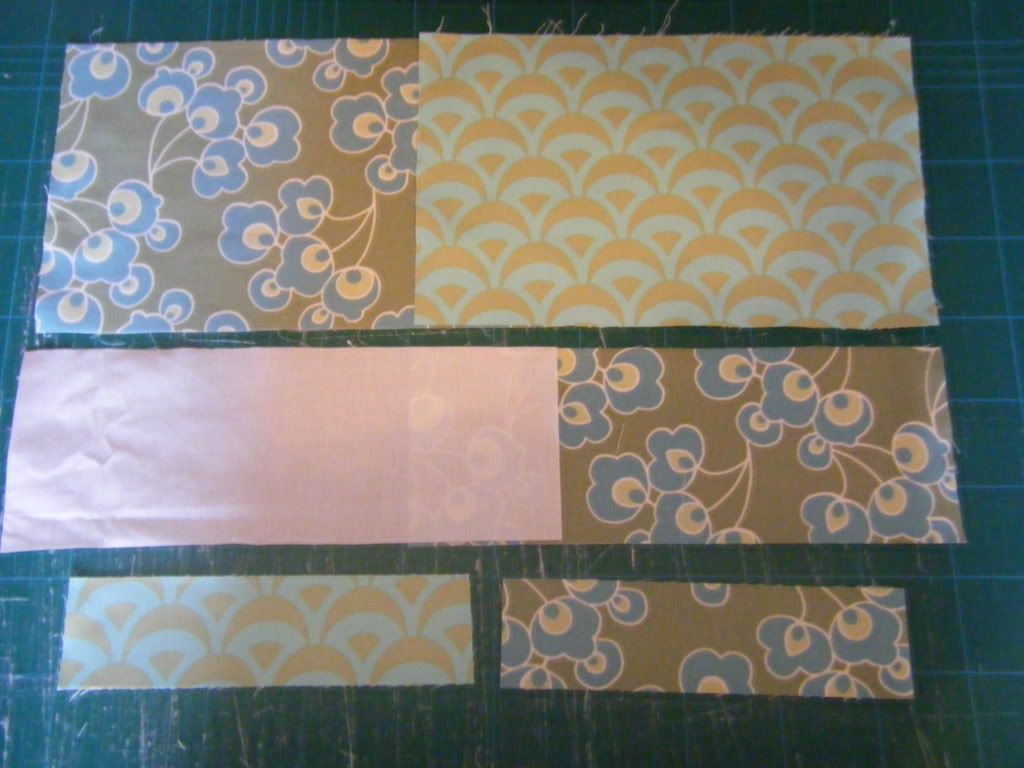
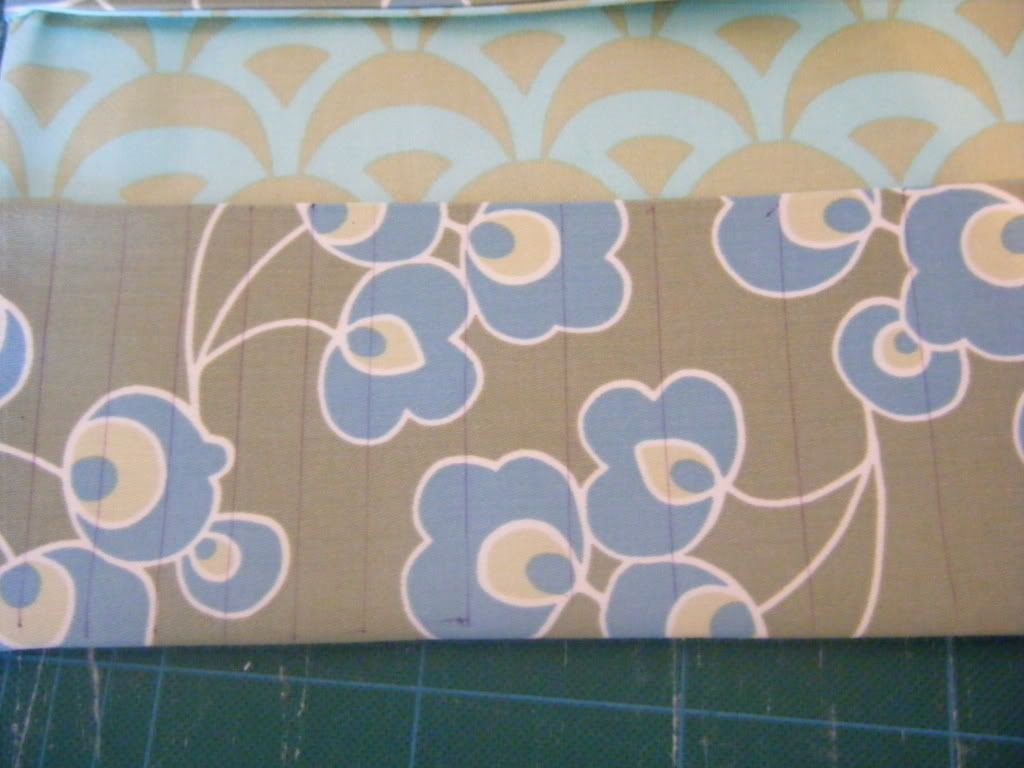
1 x outer fabric 12 x 7.5 inches
1 x inner fabric 12 x 7.5 inches
1 x fusible fleece 11 3/4 x 7 1/4 inches
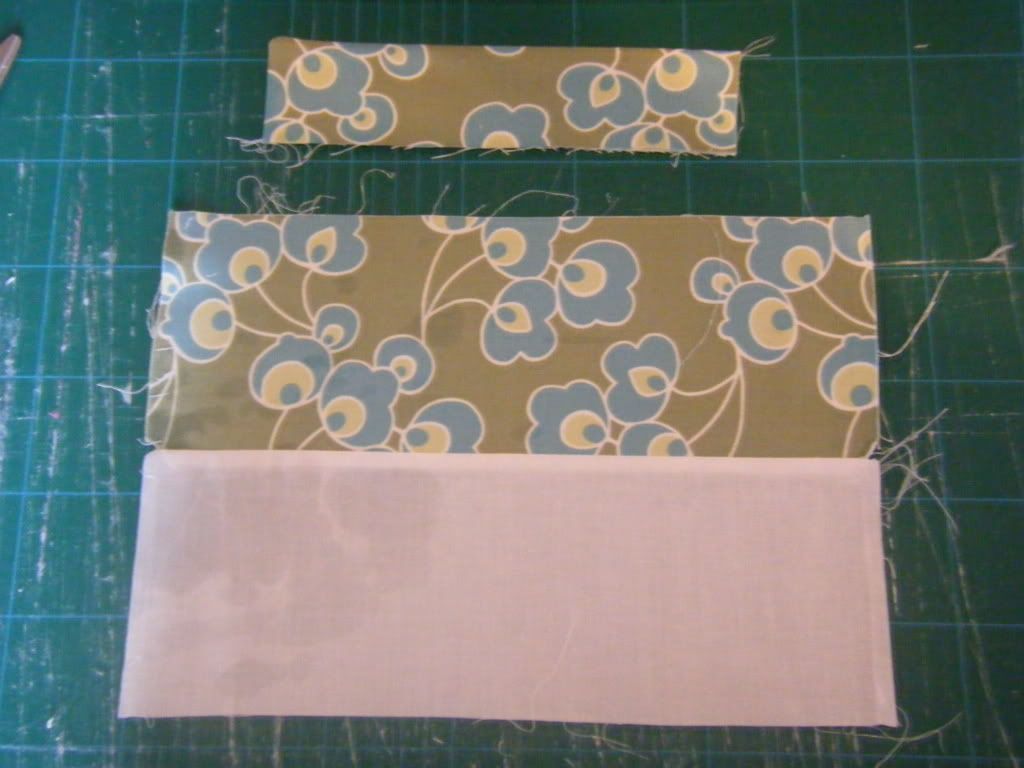
1 x flap outer 8.5 x 2 1/4 inches
1 x flap lining 8.5 x 2 1/4 inches
1 x pocket outer 12 x 4.5 inches
1 x pocket lining 12 x 4.5 inches
a 2 inch length of ribbon/braid/string
a button
I used plain white fabric for my pocket lining to prevent too much bulk as my fabric is home decor weight. The inside of the pocket wont be seen. Quilting weight fabric will work fine, you could also use denim or linen, whatever you fancy.

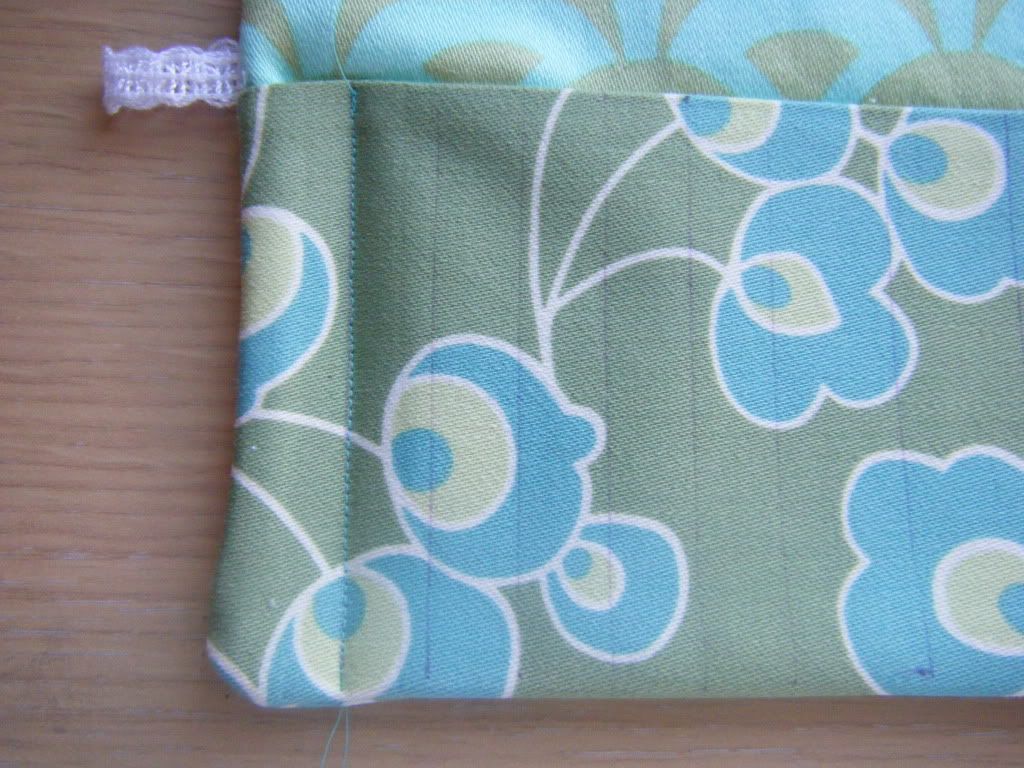
Place your pocket pieces and your flap pieces right sides together and pin.
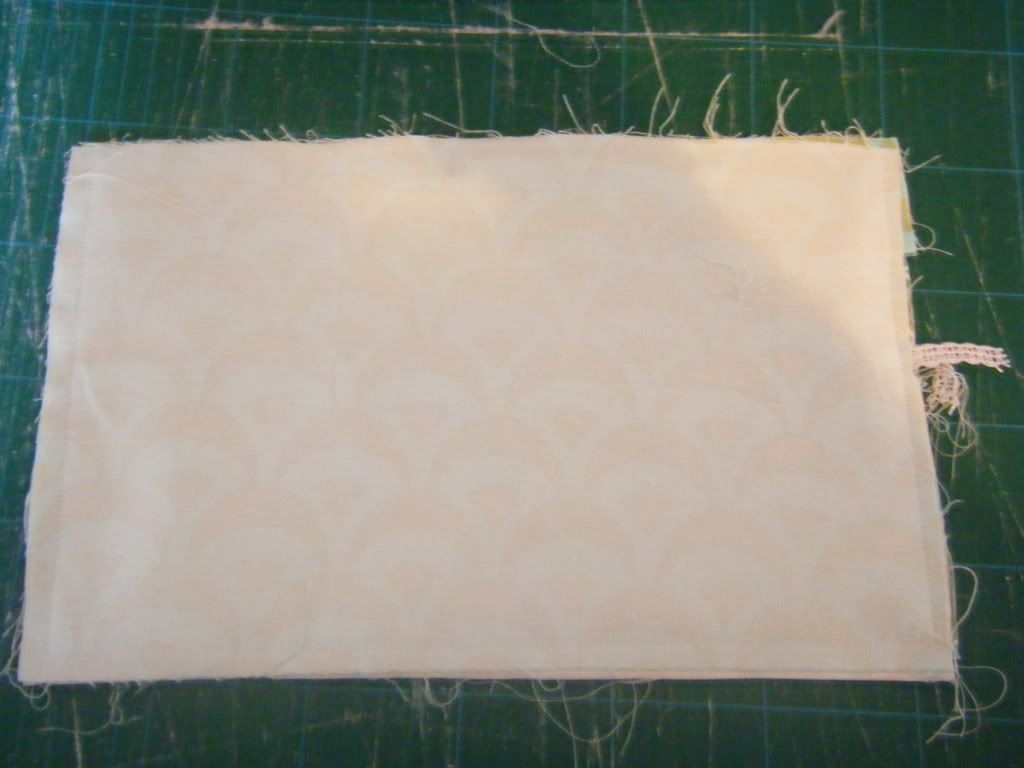
For the pocket, sew one long edge only, flip so the fabrics are right sides out, press, topstitch if you want to. I didn't. Because I forgot, not for any scientific or design reason!
For the flap stitch one long edge and one short edge, depending on whether you want the flap on the left (like mine) or the right (not like mine). The short edge that you sew up will be facing into the middle of the roll, not the edge. Again flip, press, topstitch (or not).
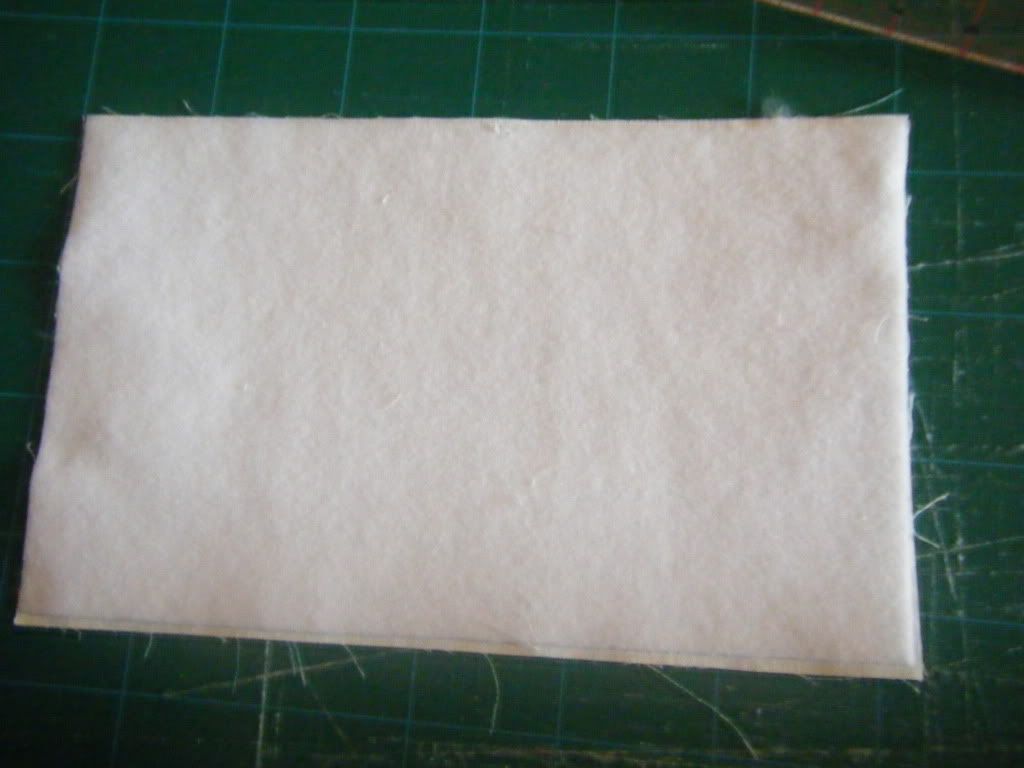
I cut my fusible fleece a quarter of an inch smaller all round than the outer piece. This just makes it easier to fuse in place without making a mess of your ironing board, iron or pressing cloth. As it's only an 1/8 inch smaller along each edge it will still be caught in the seam allowance in case it becomes unstuck later. I have had that happen to me, usually when I'm doing lots of turning, turning, unpicking, resewing, turning, turning, unpicking etc. Fuse the fleece to your outer piece.
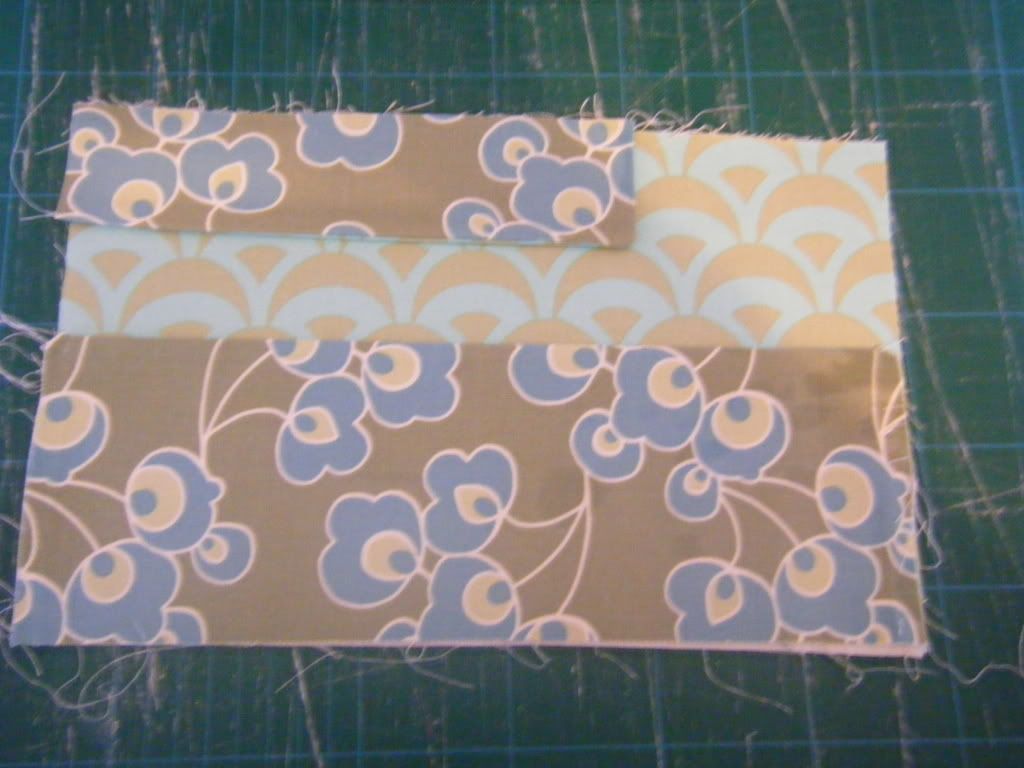
Place your outer piece right-side-up on a flat surface, put the pocket, also right side up on top, lining up the bottom and side raw edges. Add the flap to the top corner with the two raw edges lined up with the left edge and the top edge.
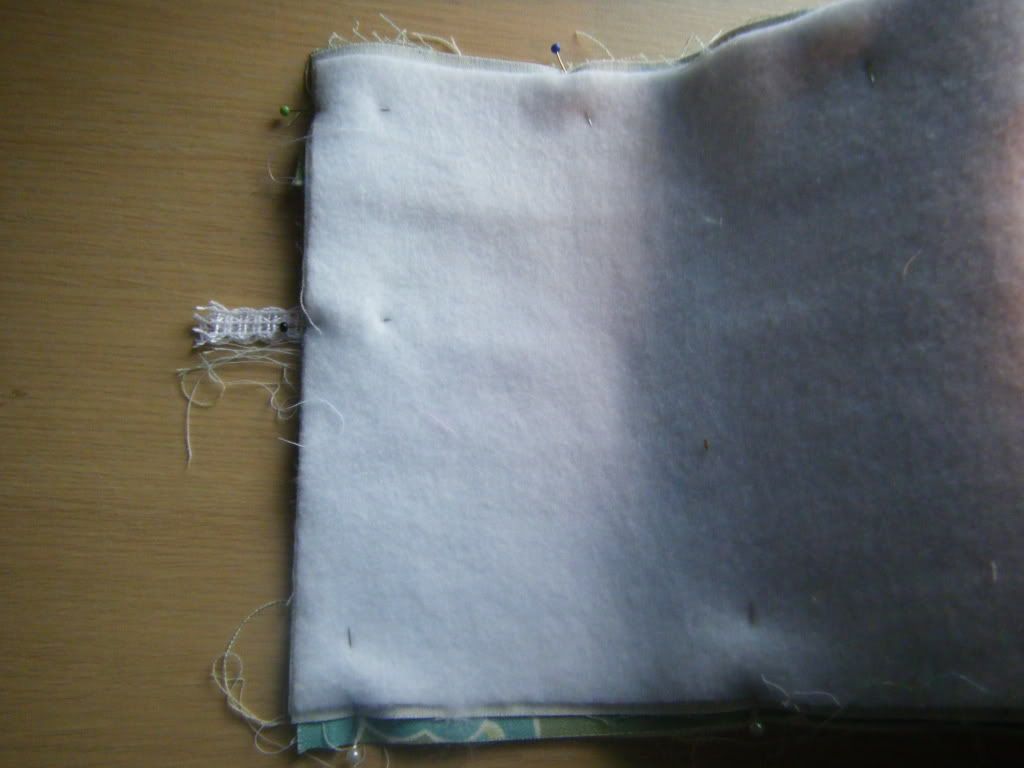
Place your outer piece on top, right side down. Fold your ribbon/braid/string/lock of hair in half and tuck inside your sandwich. It needs to be loop-face inwards, raw edges sticking out about half an inch. I positioned mine just above the pocket.
Pin the whole heap together.
Sew all the way round, leaving a 4 inch turning gap along one edge. I would recommend doing this where there is only 2 layers of fabric - so on the upper edge towards the right, next to your flap.
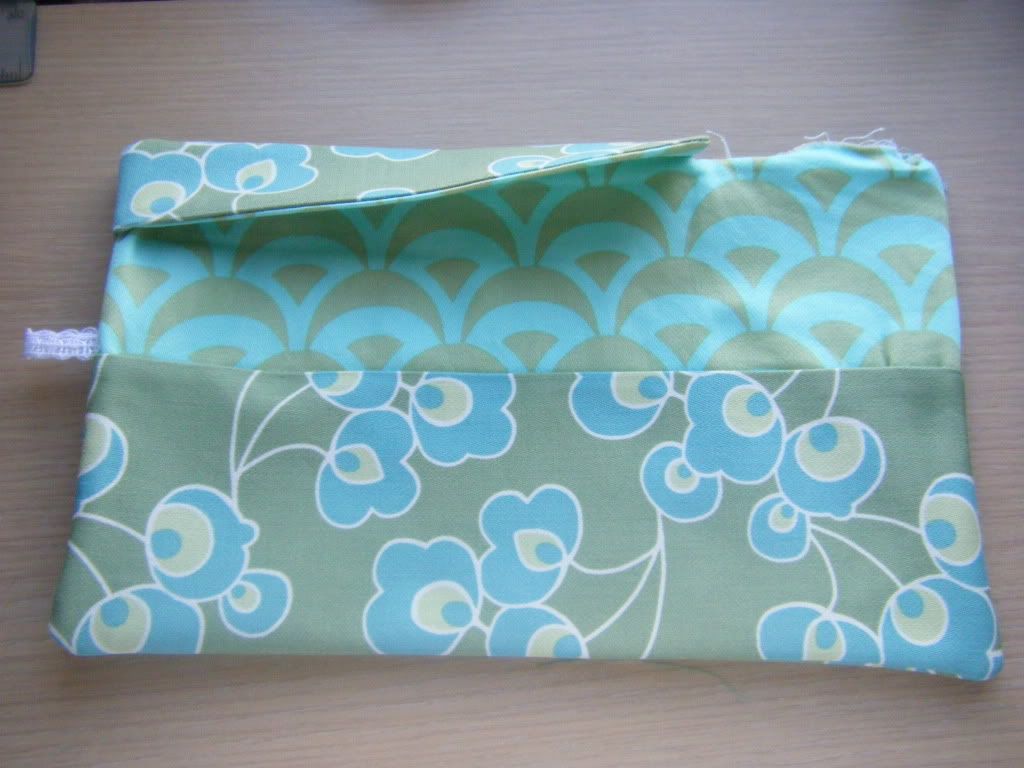
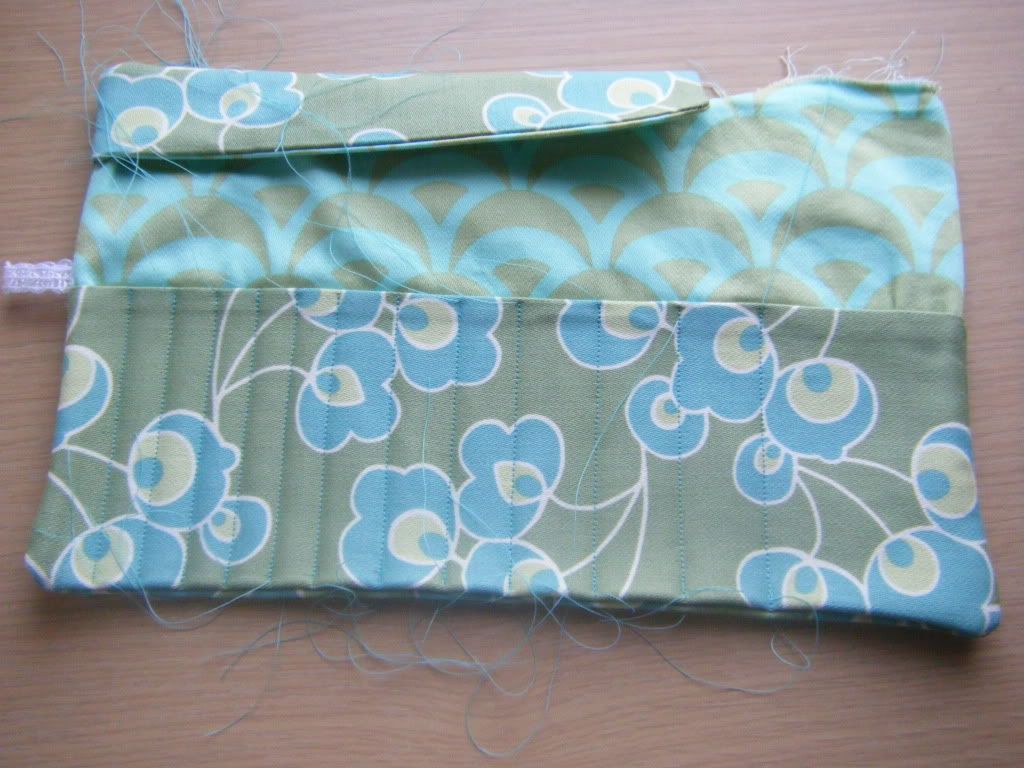
Clip your corners, turn the whole thing inside out, making sure your pocket is on the inside and not the outside (cue loads of confusion as I can't figure out why my pocket is facing the wrong way... then realise you just need to turn it!), press the seams and top stitch if you want. I didn't, not because I forgot this time but because the seams were so bulky that I would have made a right mess of it.
Slip stitch or ladder stitch your opening closed. For some reason I thought you might like to see a picture of the back at this stage.
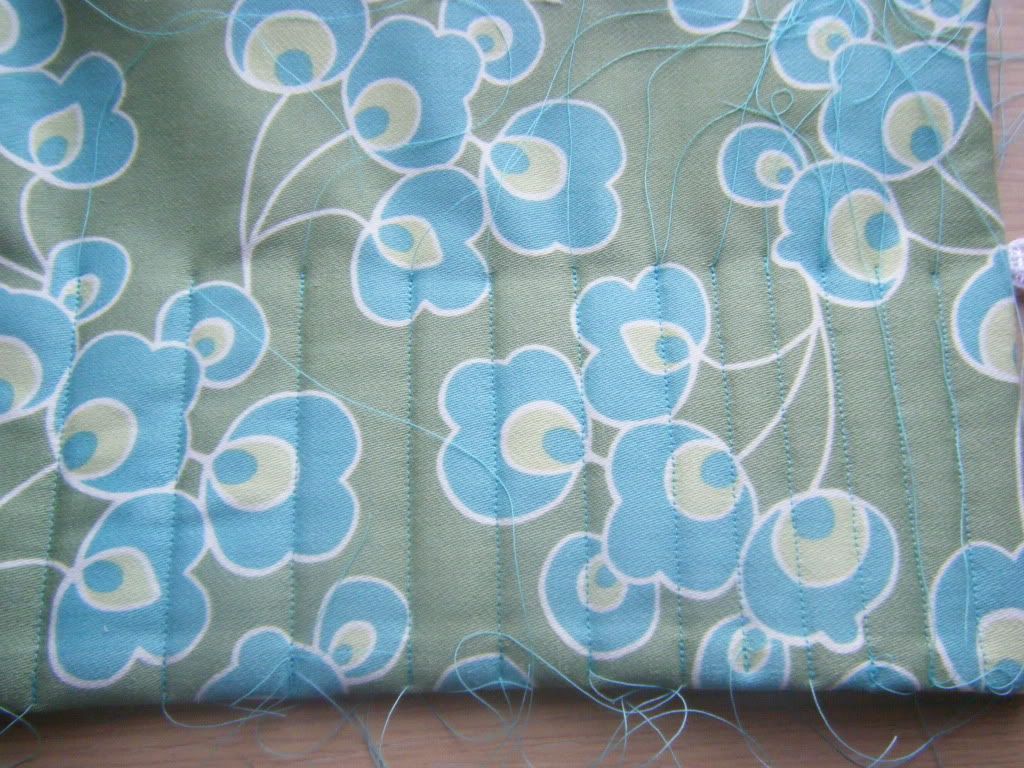
Now you are going to create the pockets. You can either do this by eye, use a quilting guide, or drawer the lines to be stitched on with a removable/fading/wash off pen. I left a big gap on the right, about 4 inches I think, for scissors and "stuff", then I marked out a line 2 inches away, then 1 3/4, then 1 1/2 etc, down to 1 inch, then I alternated the rest of the lines between 1 inch and 5/8 inch to make room for different sized hooks.
Use either a contrasting thread or one that will blend in and stitch down each line, back tacking a little at either end. I used my walking foot for this and didn't have any puckering problems as I'd had with the needle roll.
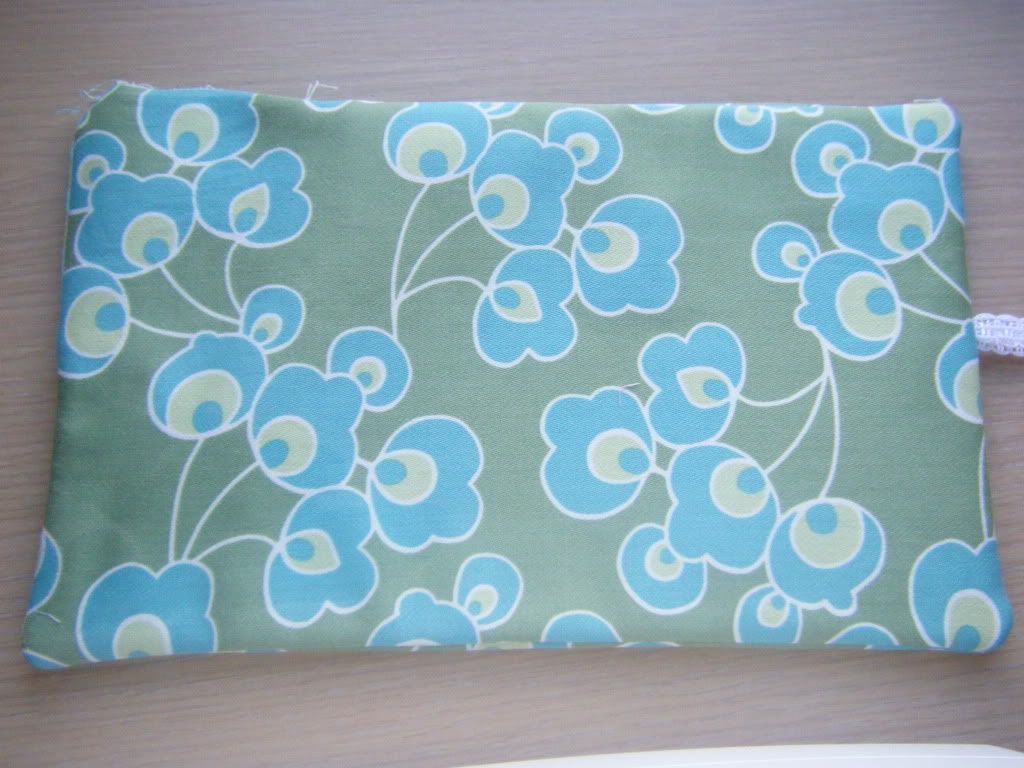
Quilt along all your lines, then snip the threads, unless you prefer the wild look as above.
Once again, I seemed to think you'd like to see the back...
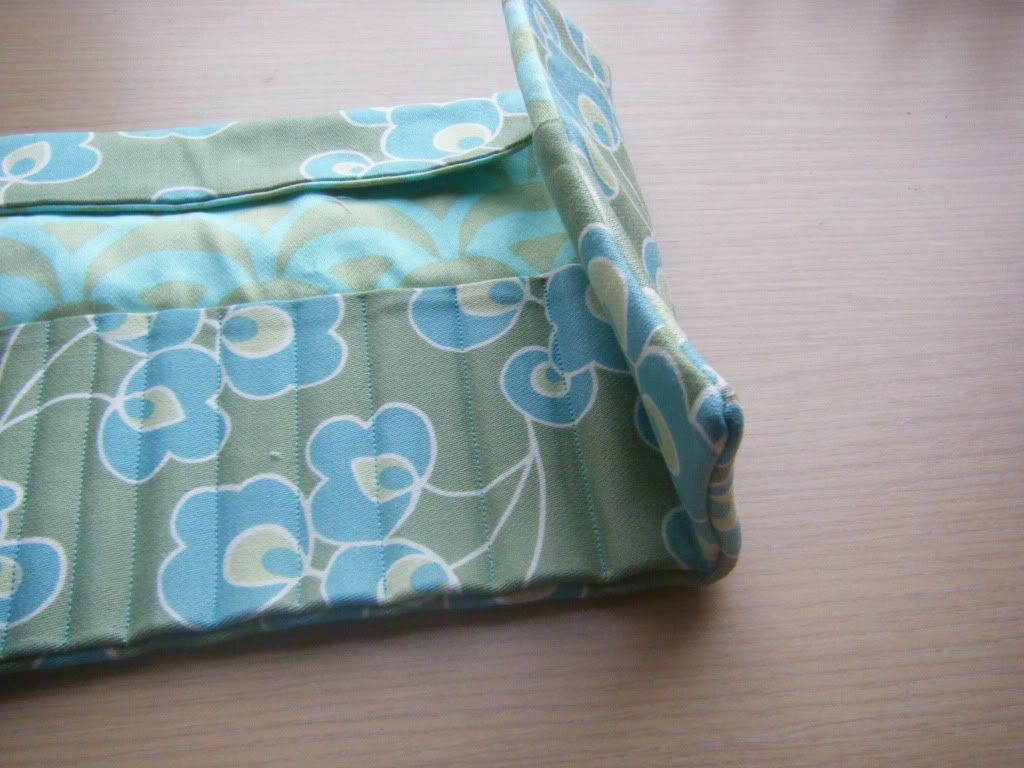
Fold your case along one of the lines to the right, press the seam to help it fold.
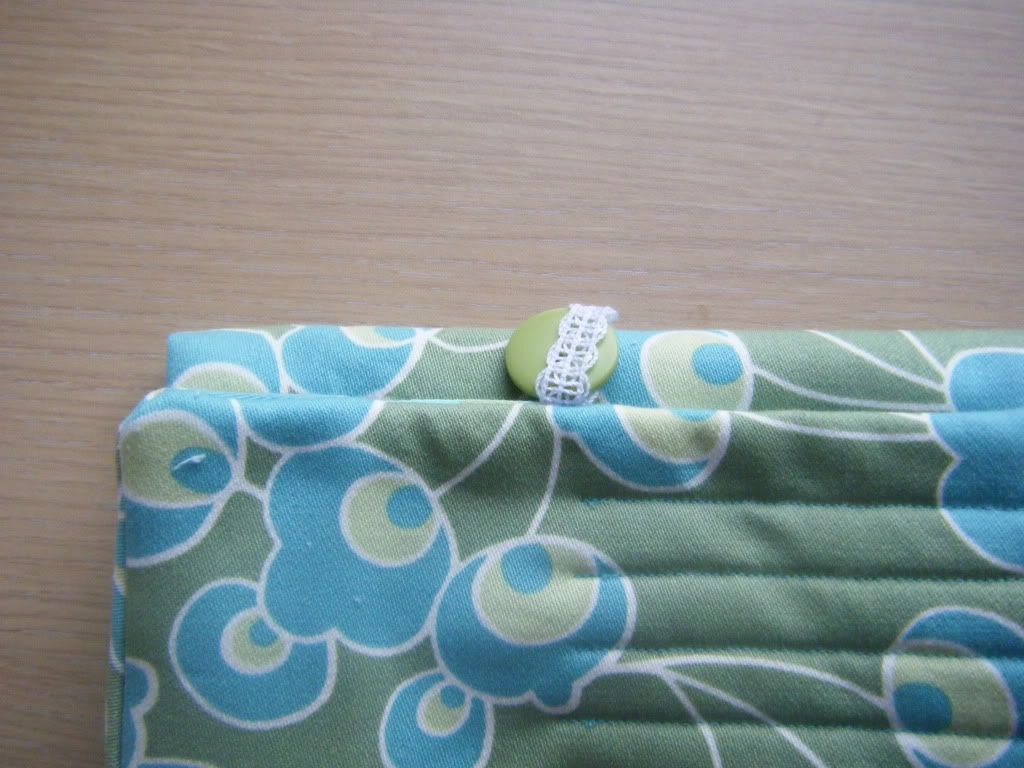
Then fold the left side in along one of those lines until it looks nicely layered. Find a button that will fit through your loop (you can plan this bit in advance, but who doesn't like the "damn, I don't have a matching button that fits" moment at times like this? Strangely enough, I did have a matching button that fitted...)
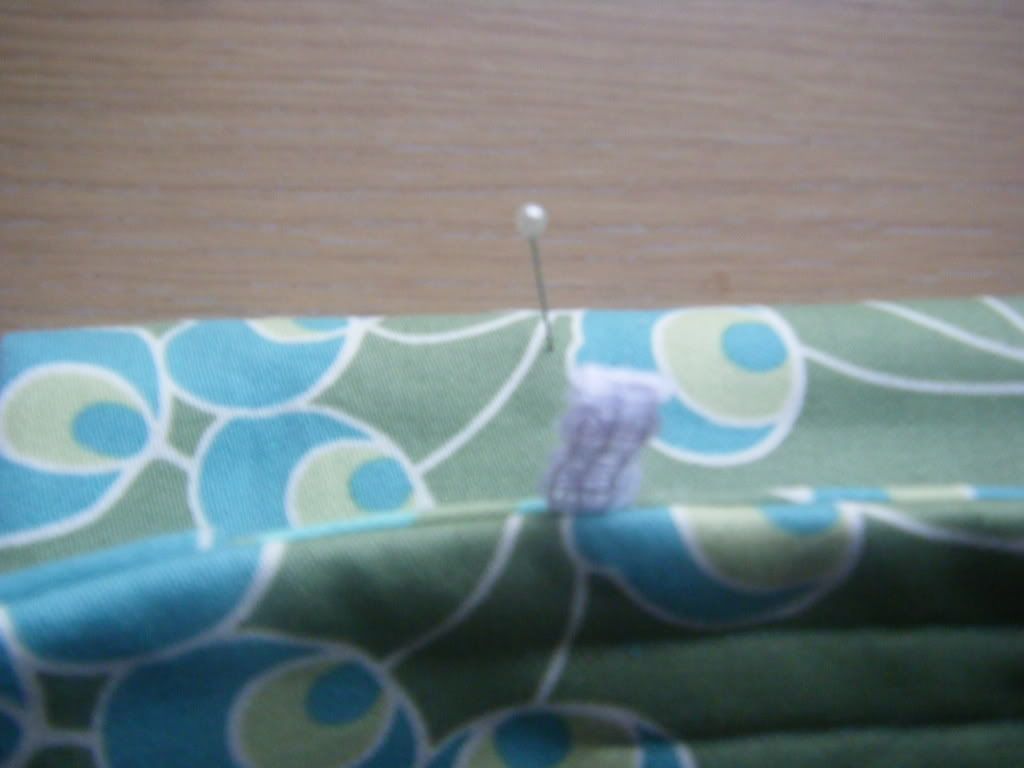
Stick a pin where your button was to mark the spot, then sew your button in place.
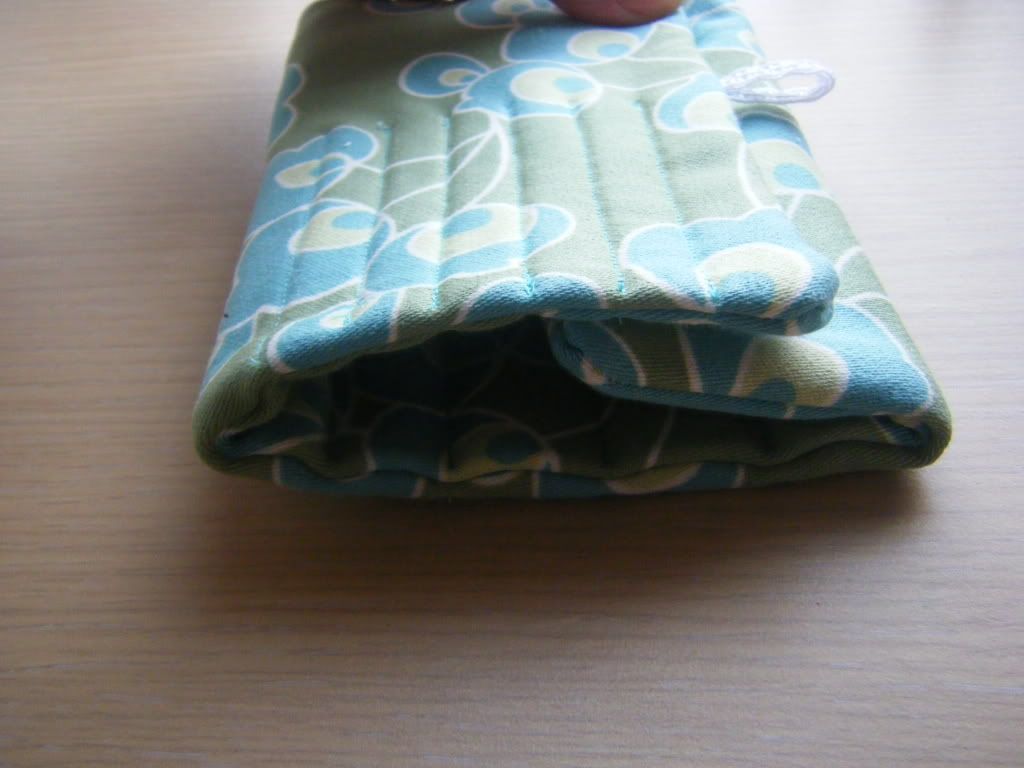
Here's what it'll look like from the back.
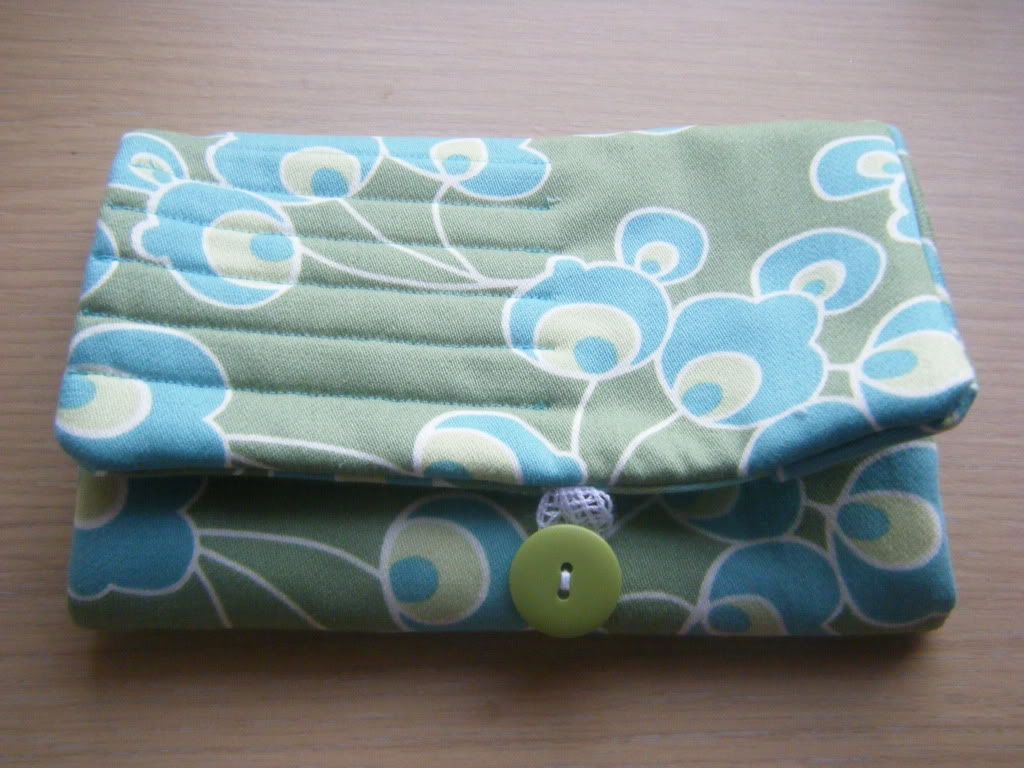
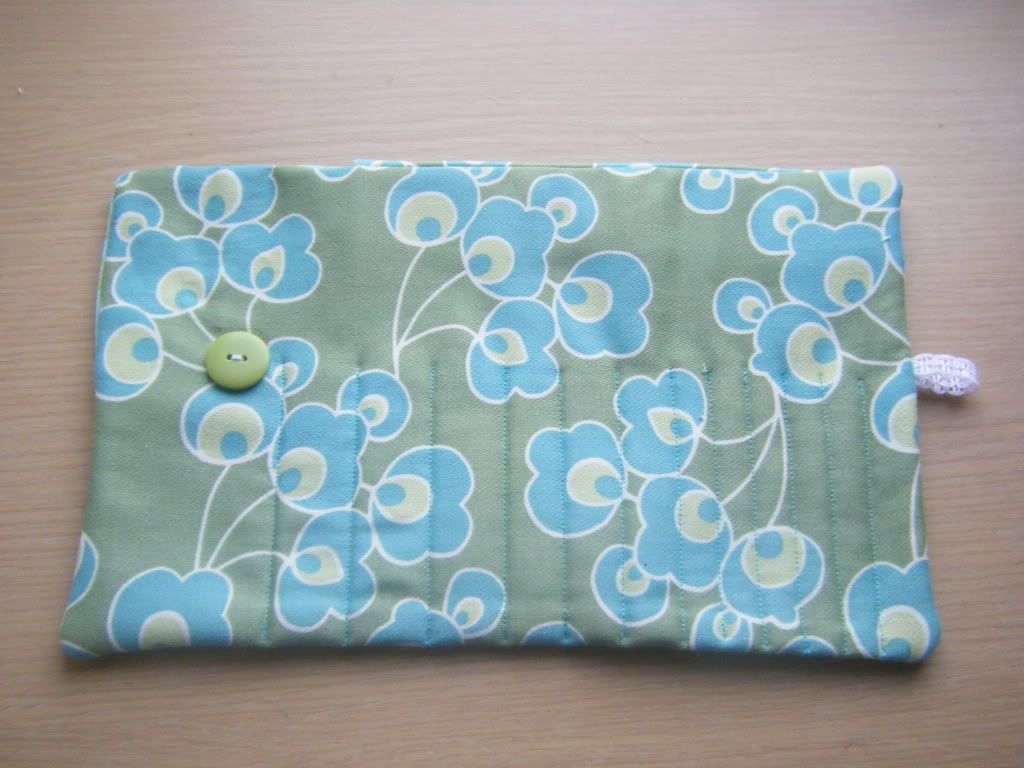
And here's how it looks all folded up.
Much better than the last one!
I like that - I'm going to try it!
ReplyDeleteThat's a great idea. I think that may be a Christmas present for myself!
ReplyDeleteim adding that on my xmas list!
ReplyDelete