Well, I think my big list of potential makes was a tad optimistic! An awful lot of my time (far more than I had originally anticipated) was spent knitting the rudolph jumper.
I'm not going to lie. It was a hard make. Perhaps not the best pattern to knit my first jumper from. That may be a little harsh though - the plain red bits were fairly straightforward, it was just knitting the reindeer that slowed me down. It wasn't until half way through I finally figured out how to strand properly, so inside the top half looks all neat and tidy, like this....
Whilst the bottom half looks a fine mess...
I had a few heart stopping moments though. When I reached the top of the antlers, I realised I'd forgotten to shape the armholes. The thought of having to frog 20 rows made me feel more than a little sick, and I didn't touch it for a week - I didn't want to make yet more mistakes by rushing into correcting it. And then when I knitted the neckband to join the front and back together the night before I was due to go back to my mum's, I realised that I couldn't fit it over my head, so there was no way it would fit over my brother in law's head. Rather than have to frog and reknit the neckband, mum had the genius idea of using buttons on the shoulder. This led to a last minute dash to a local knitting store with my mum (about 30 mins before it was due to close on Chistmas eve) to find some suitable buttons...
Still, it was suitably appreciated by the new owner, who modelled it with great aplomb. He even wore it down the pub on Christmas day (although, sadly no photos of that!).
OK, so there's no sleeves, but I think he carries it off! Plus, what else could his present be next year? I still seem to have quite a lot of red yarn left, so I put some of it to good use when wrapping.
I'm still loving the Christmas bunting though, and I might make some more bunting next year in the smaller size for the other shelves. Sadly the ribbon wreath didn't work out. I'm not sure if it was the type of ribbon I bought, or using a wire form rather than foam, but after adding about 20 bows, I realised it looked more like something to be used when dancing round the maypole, rather than a classy Christmas wreath. Next year, I'll attempt the felt flower wreath now that Adele has pointed me in the right direction of foam wreaths!
And while I keep thinking that's all I've made this Christmas, I also made a fair few make up bags and tote bags.
So, that's it for 2011. See you all next year!
Showing posts with label wrapping. Show all posts
Saturday, 31 December 2011
Wednesday, 21 December 2011
Wrapping Paper and Cushions
Hi, Pam from Threading My Way...
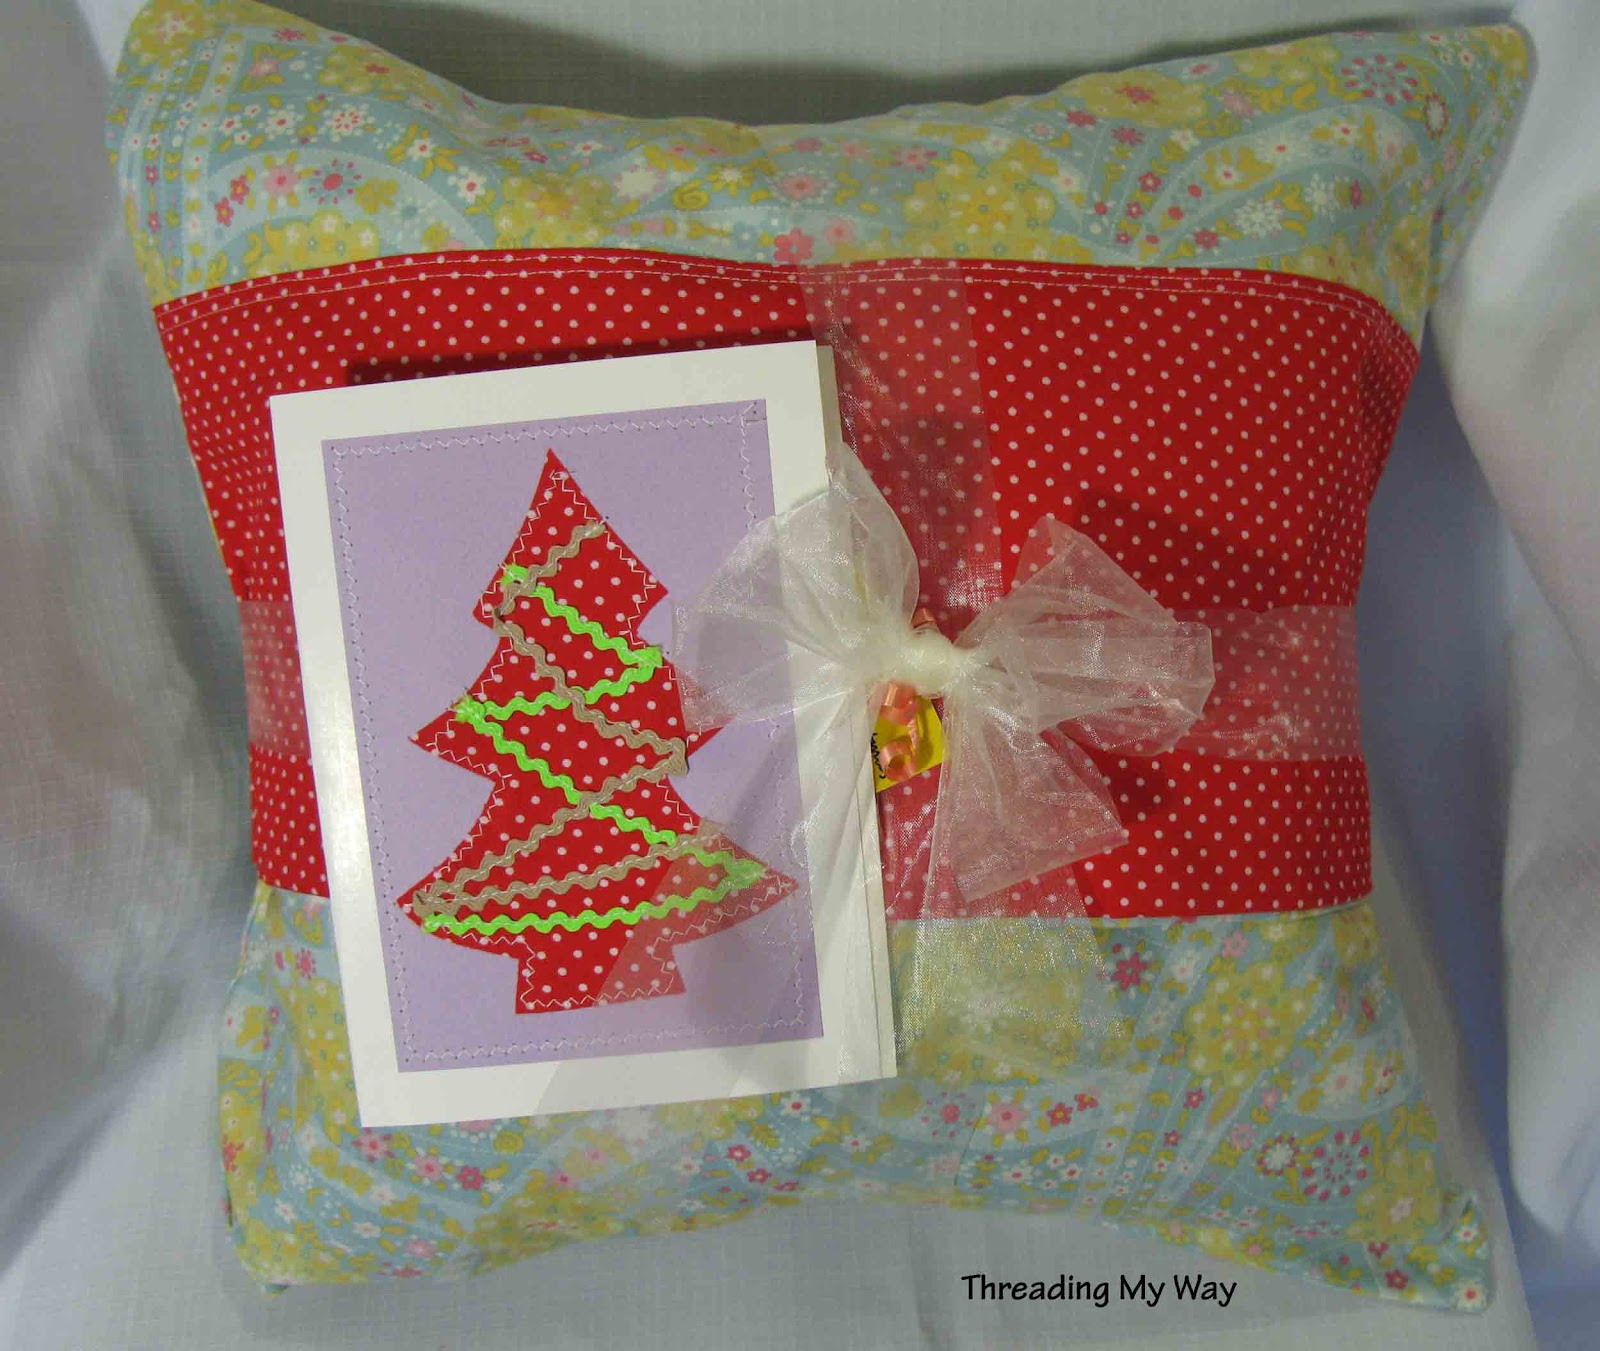
I saw some fabulous ideas for wrapping presents over at Hopeful Threads. One of my favourites, was Kristy's idea of using a pillowcase instead of wrapping paper.
I used this tutorial from Flower Press to quickly make up a pillowcase. Using the tutorial meant I didn't have to spend time measuring an existing pillowcase. I wanted the pillowcase to be suitable for wrapping a Christmas present, without being too Christmassy, hence the colours I have chosen. For me, the hardest part of making the pillowcase, is making sure the fabric is cut accurately as rectangles. Once that is done, it takes no time at all to sew the pillowcase.
Pop the present inside, tie it up and you have a present within a present. There's nothing to throw away, as even the ribbon can be used again.
I've made a sewn card to go with this present. It's going to be put inside an envelope, before it goes under the Christmas tree. I just wanted to show you the pillowcase with matching card.
What's inside the pillowcase you ask?
Two patchwork cushions for my Mum. I used this tutorial, which I found on The Crafty Christmas Club, by Too Many Pastimes. This was my first time attempting patchwork, so I'm rather pleased with how they turned out, even though the corners don't match perfectly.
Not so long ago, I shortened a tablecloth for Mum. The patterned squares in the cushions are made from the offcuts of that tablecloth. I hope Mum likes them.
Labels:
christmas gift,
pillow,
pillows,
wrapping
Saturday, 26 November 2011
Gift bag tutorial
Hello, it's Wendy from The Crafter's Apprentice here again. Fancy another tutorial? This one is for simple paper gift bags.
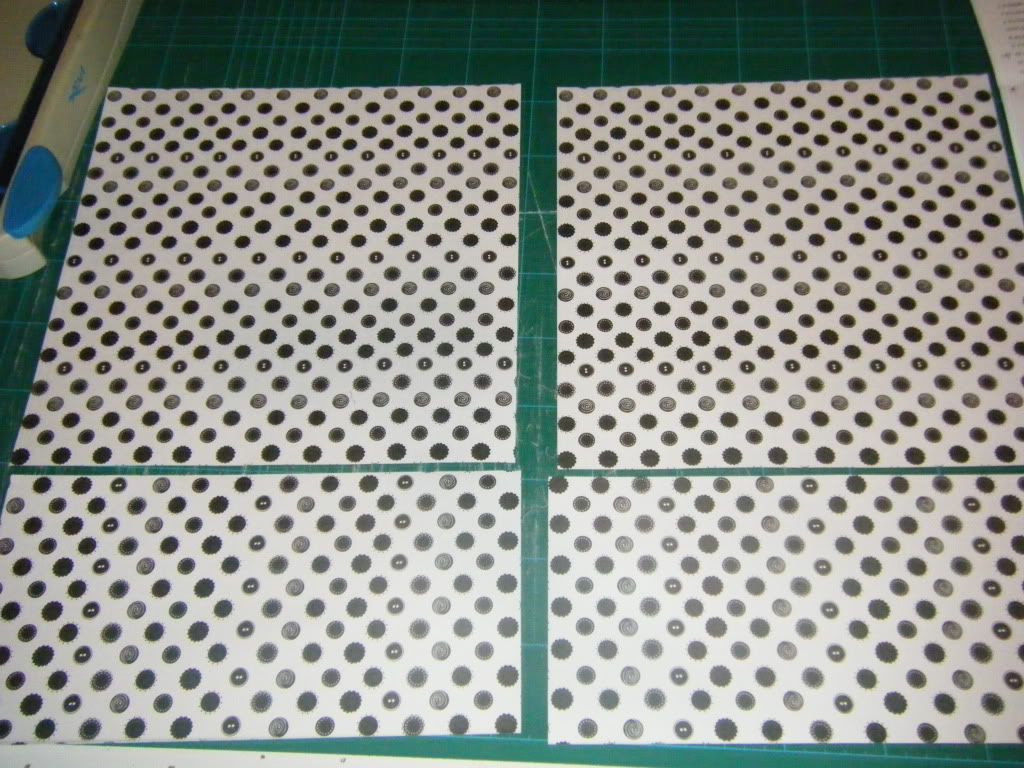
I use scrapbook paper for these which is 12" x 12". I have a big pad of it that I'll never get through and there are about 3 sheets of each design in each colourway so it's perfect for ideas like this. You can make a bag any size you like. You can use a single sheet of paper to make a small bag, or you can join more pieces together. For this version I used three sheets, but it did end up a little tall, I generally make them from two sheets.
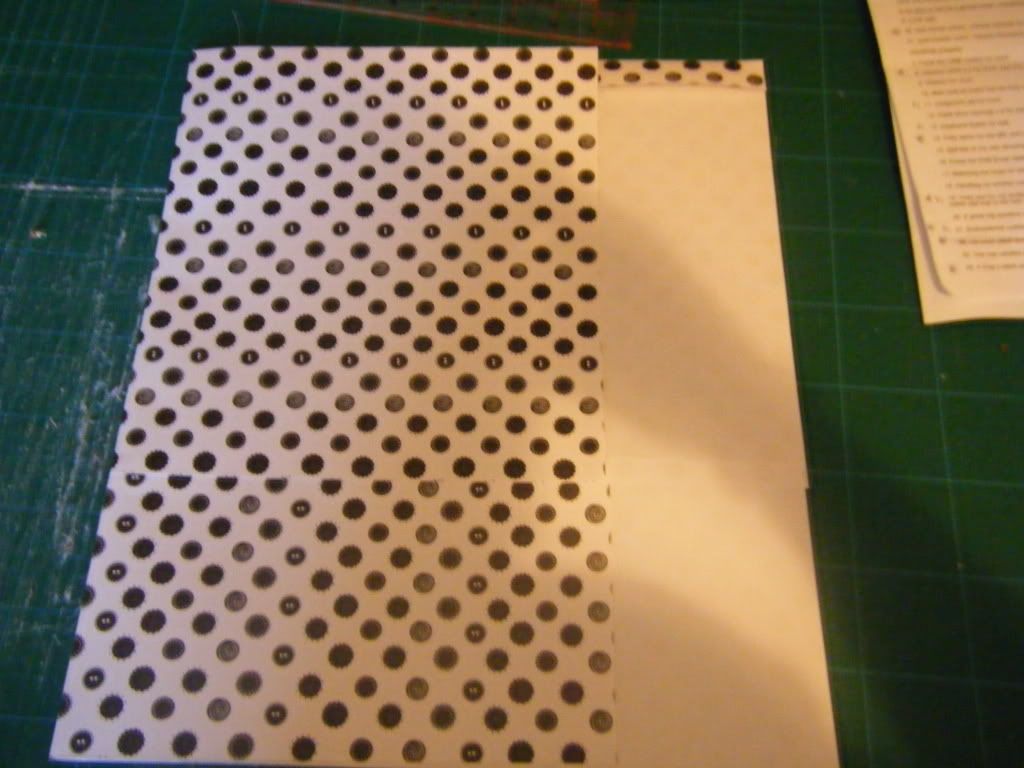
Take your sheets of paper. I cut one in half.
Fix them together, I used double sided tape for a nice, neat finish.
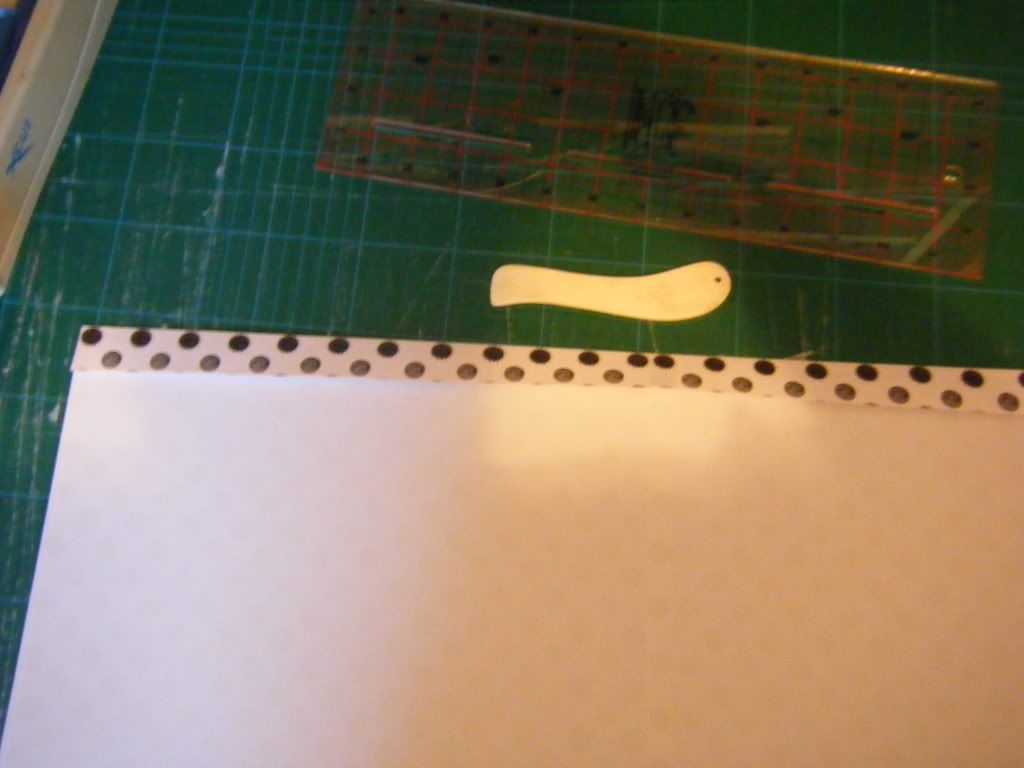
Fold the top over about 1/2 " and press down. I used that little tool at the top which is a bone folder used in papercraft, but you could use the end of a paintbrush, a lolly stick or your finger nail.
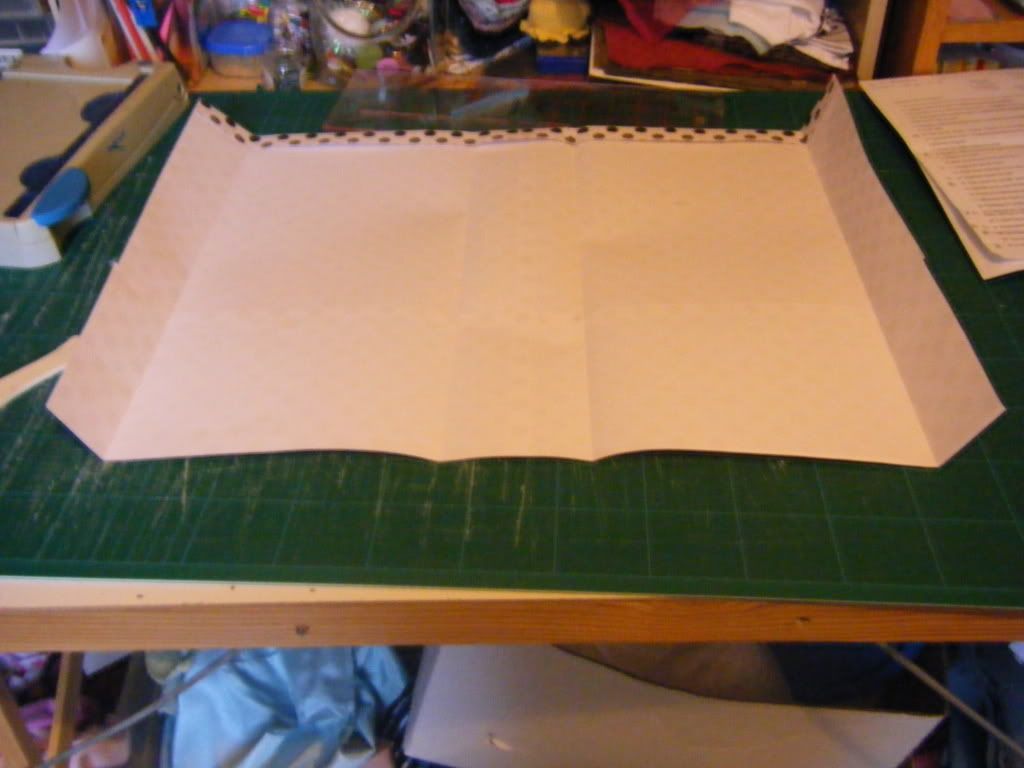
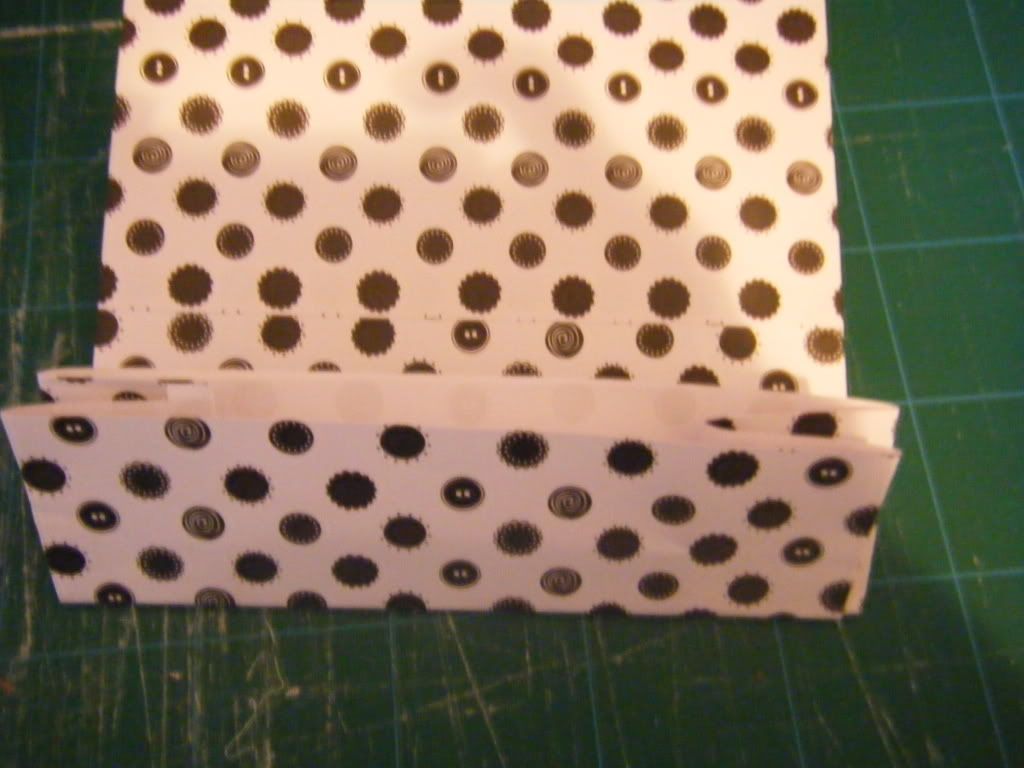
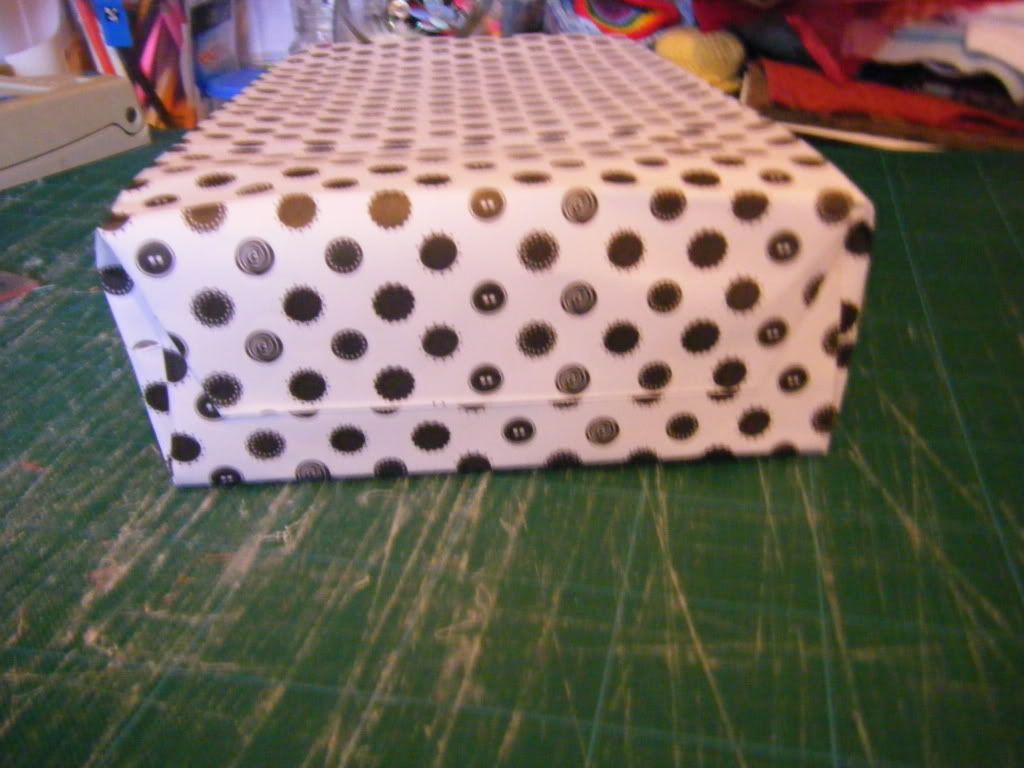
Now we are going to create the sides of the bag. You're aiming for a square tube, or a box without base or lid! Fold one of the sides in and crease with whichever tool you have to hand. If you've joined your two sheets together, there'll be a join, you want to avoid this join and fold the bag in to one side of it. My first fold is at about 8", the second a further 4" from that. Fold the right hand side over until there is about a 1/2" overlap of the two papers. I did take a photo of this but it was a white with black dotty blur and you couldn't see the joins. Hold the join in place and push the top layer to the right until the first crease (the one at 8") is lying flat on the table, this is to creat a symmetrical fold for both side "corners". Wow, does that make any sense?? Does the picture below help?
Here you can see that I've got a "gusset" in the middle (I hate that word!!) and then two smaller folds at the edges which will join together to make the second side of the bag. The two larger portions should be equal.
Pull the two edges together and join neatly without pulling or distorting the bag. Again, I used double sided tape. You now need to create a crease in the sides of the bag. Fold them inwards so the two corners on one side touch, and the same the other side. You can only just make out my crease in the photo above so I hope you understand what I mean!
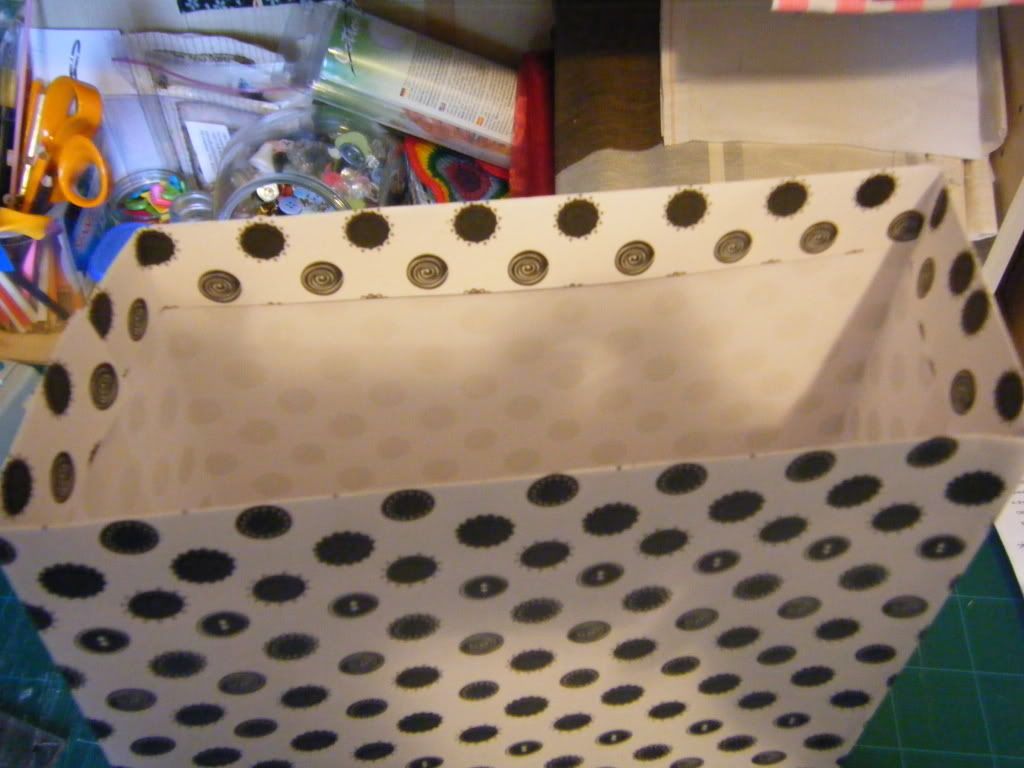
Measure the depth of your bag (front to back), measure the same distance from the bottom of the bag and fold. Open up your tube and fold each side inwards along the line created.
This folded portion will be the base. You need to create the base as if you were wrapping a present.
Seal with double sided tape.
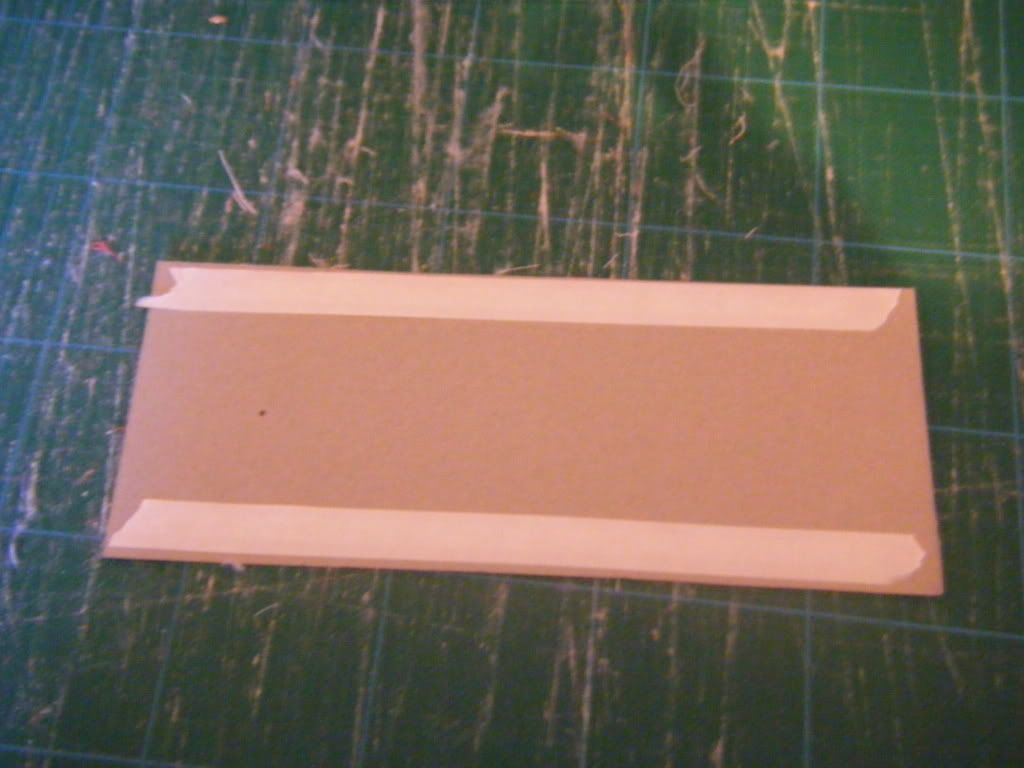
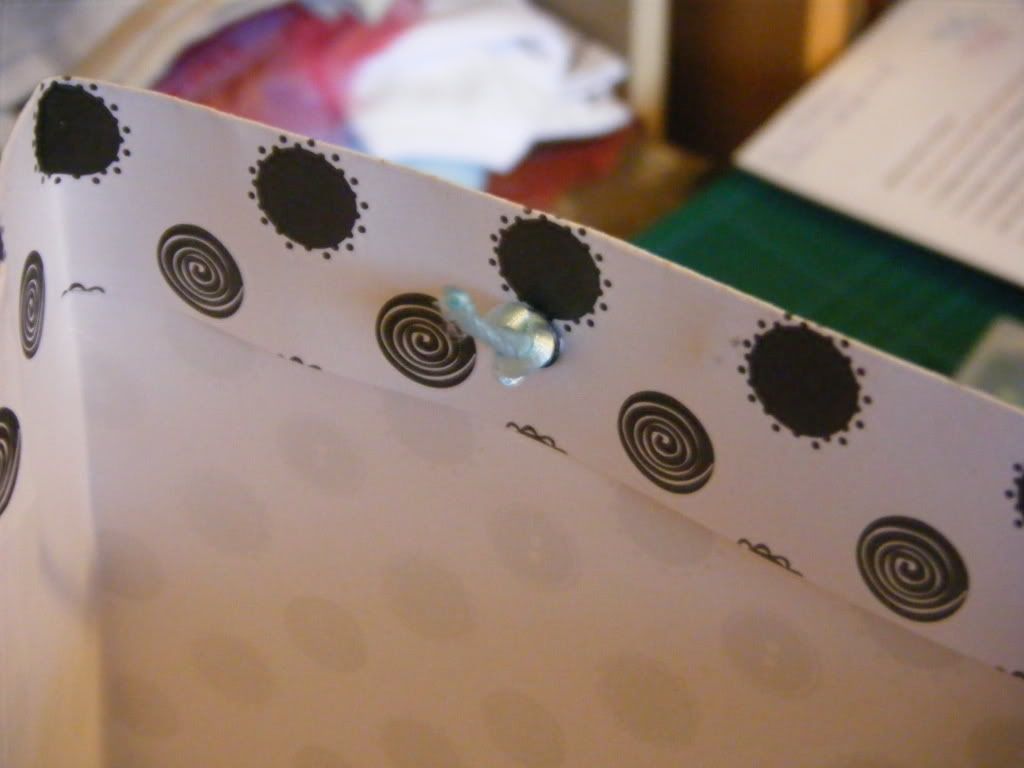
Measure the newly-created base of your bag and cut a piece of thickish card the same size. Mine was once some form of packaging. Apply double sided tape and carefully drop it into the bag, when it's in position, press down firmly to stick it in place.
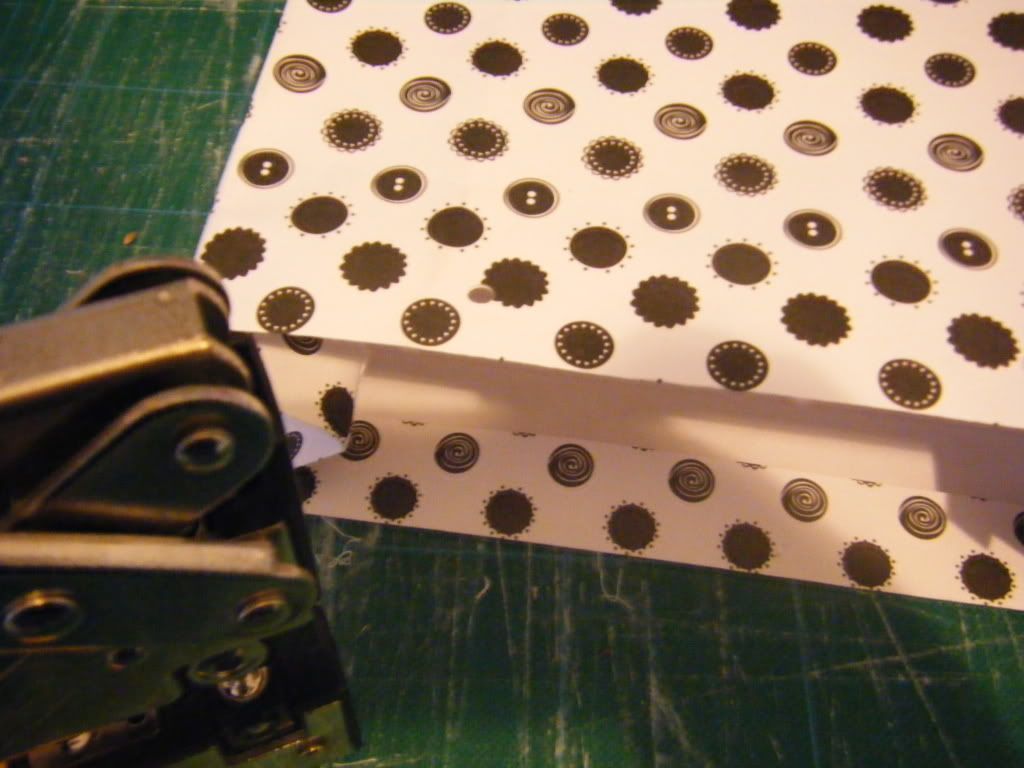
Now we need to punch holes for the handles. I used my fancy Big Bite which is made for setting eyelets, but you can use an ordinary hole punch. Decide where you want your handles, then make sure they are equidistant from each end. You'll need to punch 2 holes in each side.
I then added eyelets, but this is optional.
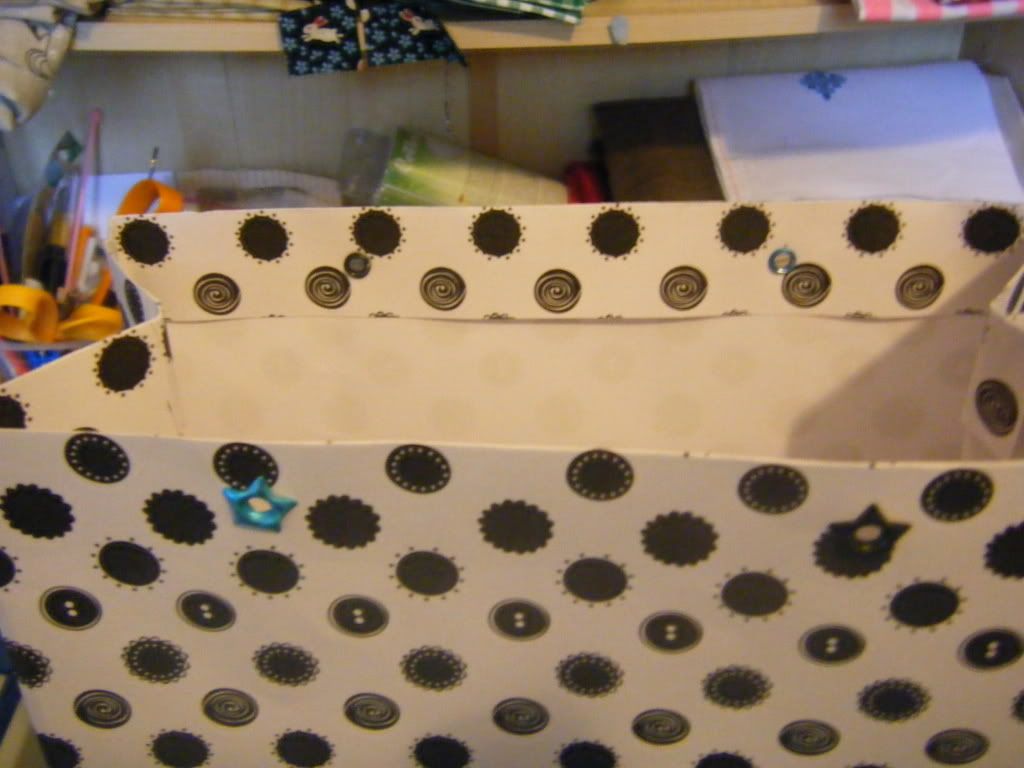
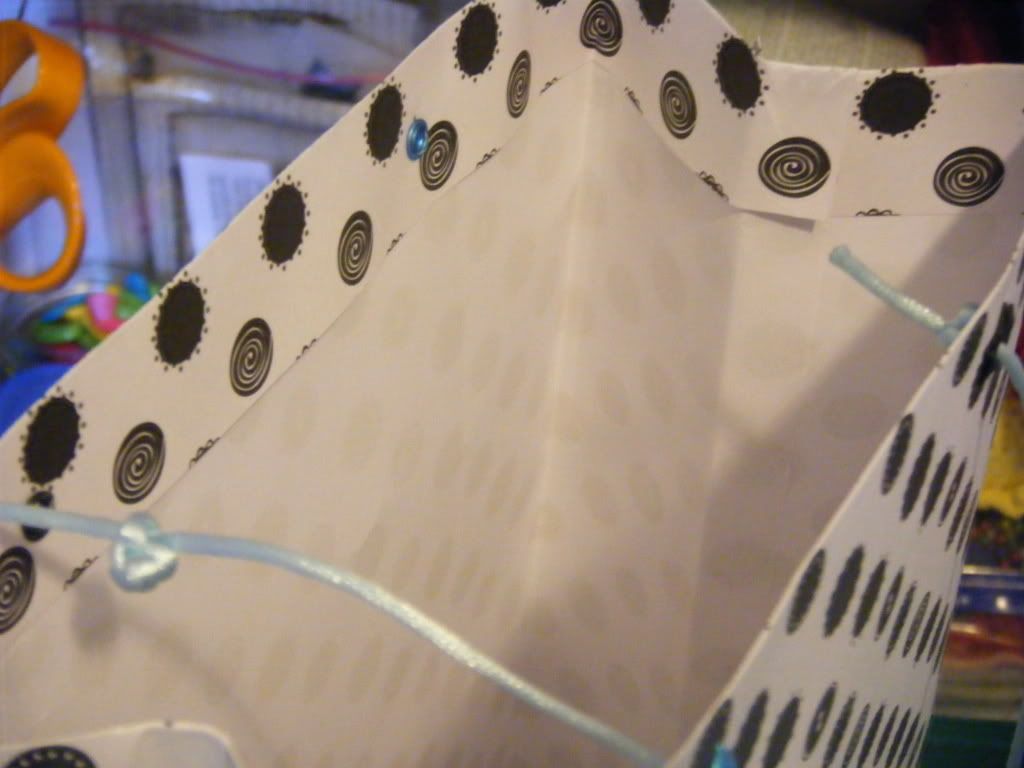
Take some ribbon, thin cord, yarn, twine, string, whatever and thread the end through one hole, tie a big knot so it doesn't pull through. If it comes undone by itself you can add a blob of glue.
Pass the other end of the lenght of ribbon/cord/string etc (the length is up to you) through the hole on the SAME side and knot. Repeat for the other side of the bag.
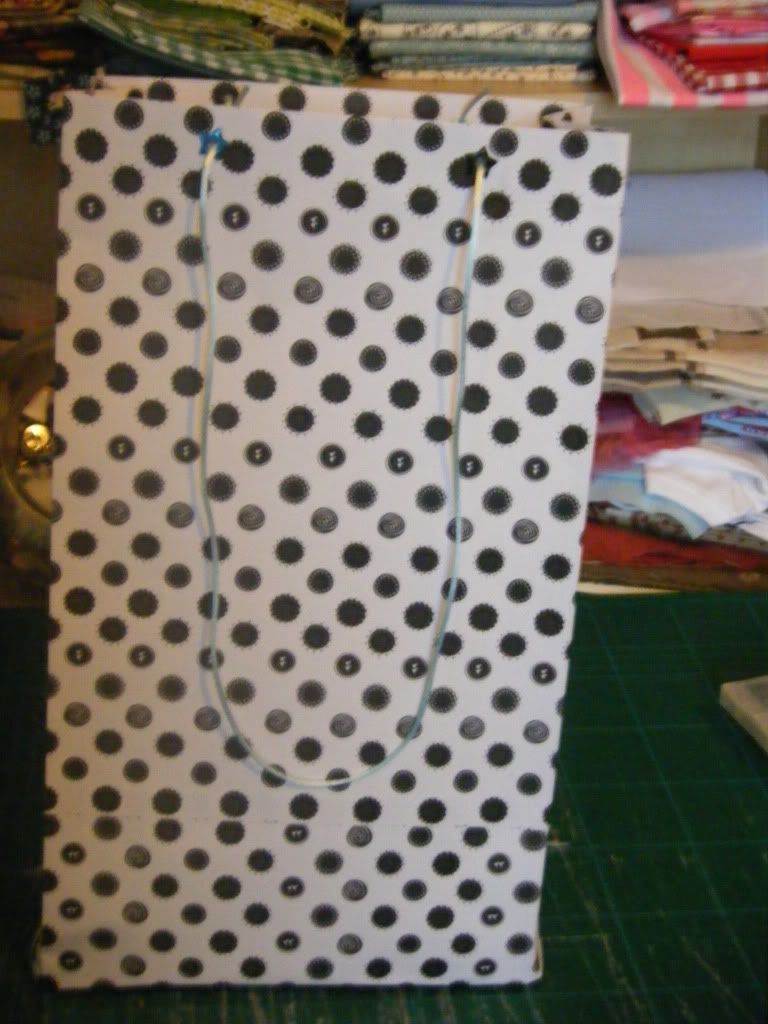
And tadah! You have one custom made gift bag, I have one very tall gift bag and one very crap tutorial! I do apologise.
Friday, 24 December 2010
Fun with felt!
I had lots of fun with felt this year when it came to wrapping prezzies...
... cutting out felt xmas trees and snowmen for the gift tags...
... using strips of felt as an alternative to ribbon...
... even sticking felt hearts and recipient names to the wrapping paper!
This will be my last post before Christmas so I just wanted to say a BIG THANK YOU to everyone who has contributed to Crafty Christmas Club over the last few weeks and made it such a great resource for festive giving inspiration. I never thought it would get so many members so quickly and lots of people have told me they're amazed at how many posts are going up each day. Well done everyone! And until next year!
Love from Tilly x
Wednesday, 22 December 2010
Christmas Wrapping Ideas & Quick Tutorial
As per my last post, I've been playing about with making pleated paper bands with which to embellish our gifts this year. I'm rather pleased with the result and have kept it simple by just adding a narrow ribbon and neat bow to finish.
If you like the idea, it's really easy. To make the band I measured out some guidelines on the back of a length of contrasting wrapping paper. But you can do it by eye as well. (I'm rubbish at that though!)
I spaced them about an inch apart and used the edge of my metre rule to fold them smooth along the edge. Folding one way, then the other, to create a concertina effect.
I then pressed the band under a pressing cloth using a warm, dry iron. Just to sharpen the folds really, and keep it nice and flat.
I wrapped it pretty snug around my gift, (don't want it sliding off or moving about) trimming of the excess and securing it at the back with sticky tape.
I added a very simple bow in a contrasting colour to finish. I'm alternating the green and turquoise ribbons on different gifts to tie in with the main wrapping paper.
To make these bands for EVERY gift would be too time consuming for my liking (and for the time I have left!) so I've compromised by alternating between plain (see right) and pleated bands on different gifts.
Now I know what I'm doing, should have it all finished by tomorrow!
If you like the idea, it's really easy. To make the band I measured out some guidelines on the back of a length of contrasting wrapping paper. But you can do it by eye as well. (I'm rubbish at that though!)
I spaced them about an inch apart and used the edge of my metre rule to fold them smooth along the edge. Folding one way, then the other, to create a concertina effect.
I then pressed the band under a pressing cloth using a warm, dry iron. Just to sharpen the folds really, and keep it nice and flat.
I wrapped it pretty snug around my gift, (don't want it sliding off or moving about) trimming of the excess and securing it at the back with sticky tape.
I added a very simple bow in a contrasting colour to finish. I'm alternating the green and turquoise ribbons on different gifts to tie in with the main wrapping paper.
To make these bands for EVERY gift would be too time consuming for my liking (and for the time I have left!) so I've compromised by alternating between plain (see right) and pleated bands on different gifts.
Now I know what I'm doing, should have it all finished by tomorrow!
Tuesday, 21 December 2010
Wrapping is underway.....
It's funny how writing about the things that you do, makes you realise "stuff" about yourself. I am pretty methodical when I approach projects. Sometimes I look at the ordered manner of things in process and think "wow, that girl has control issues!!" Then I remember that "that girl" is me,and put it down to simple efficiency!
When I'm wrapping lots at once, I keep everything pretty uniform and identical. It's quicker that way. Much as I get a kick out of gift wrapping, I don't have the time or inclination to spend days on it! I'll wrap everything first, then embellish and label them all in one go. (I use trusty post it notes to keep track of who's gift is who's). .Here they are all stacked, labelled and ready.
Next phase will be to add tags and embellishments. I have my handmade tags all ready to go as per the tutorial I posted. I have all my ribbon ready as well. I've just bought some red matt metallic paper that I'm going to try as pleated bands wrapped around each gift. Not sure of the detail yet, or whether it will work out, but that's the plan for tomorrow. Would love to see other peoples wrapping on here!
http://portialawrie.blogspot.com/search/label/Crafty%20Christmas%20Capers
Next phase will be to add tags and embellishments. I have my handmade tags all ready to go as per the tutorial I posted. I have all my ribbon ready as well. I've just bought some red matt metallic paper that I'm going to try as pleated bands wrapped around each gift. Not sure of the detail yet, or whether it will work out, but that's the plan for tomorrow. Would love to see other peoples wrapping on here!
http://portialawrie.blogspot.com/search/label/Crafty%20Christmas%20Capers
Scrap Buster: Gift Pockets!
Want to make something cute with those holiday fabric scraps? Make a little gift pocket that you can hang on your tree to hold money, candy, or miniature ornaments:
Labels:
bags,
Christmas tree decorations,
decorations,
sewing,
tutorials,
wrapping
Wednesday, 15 December 2010
Perfect Gifts for Fellow Sewists (inc Tutorial)
Today was my last day at college until the new year. I wanted to give my fellow dressmakers a little something. Some time ago, I'd stumbled upon this tutorial on Martha Stewart's fabulous site, and decided they'd be perfect. And they were. Cute AND quick.
I used some of the fabric left from my Christmas aprons, as it's such a pretty floral. I made up the pincushions as per the tutorial, substituting the "leaves" in Martha's version, for pretty vintage buttons on mine, top and bottom. I secured the buttons with the embroidery floss, wrapping the loose end around the thread shank and tucking it undeneath the button to finish it.
I wrapped them in some polka dot cellophane (from my local florist) tied with a white ribbon. If I do say so myself, they looked soooo cute. All done in one evening, whilst relaxing in front of the TV with a glass of Rioja! Thanks Martha! I rather fancy making a giant one of these for myself.....
Happy Christmas all, With Love & Best Wishes, Portia.xxx (Miss P)
I used some of the fabric left from my Christmas aprons, as it's such a pretty floral. I made up the pincushions as per the tutorial, substituting the "leaves" in Martha's version, for pretty vintage buttons on mine, top and bottom. I secured the buttons with the embroidery floss, wrapping the loose end around the thread shank and tucking it undeneath the button to finish it.
I wrapped them in some polka dot cellophane (from my local florist) tied with a white ribbon. If I do say so myself, they looked soooo cute. All done in one evening, whilst relaxing in front of the TV with a glass of Rioja! Thanks Martha! I rather fancy making a giant one of these for myself.....
Happy Christmas all, With Love & Best Wishes, Portia.xxx (Miss P)
Tuesday, 14 December 2010
Wrap Star
The wrapping has begun. And in true budget fashion too. Brown parcel paper and ribbon has always been my gift wrap of choice, but I thought I'd try something different this time.
I've used free newspapers to wrap, and then strips of lace (old net curtain) and faded raffia (bargain!) to tie. It's pretty, eco-friendly and cost me next to nothing. Even better, I avoided my old nemesis - Sellotape!
Hope this was helpful.
Happy crafting!
Becca
Sunday, 12 December 2010
Re-Usable Chalk Board Gift Tags
Hi! My name is Jessi from over at Common Threads. Here a quick and affordable way to put a unique spin on your gift wrapping! Not only are they cute to look at, but because they are chalkboard they can be re-used!
What you'll need:
1) A roll of chalkboard paper (available at most dollar stores!)
2) Cardstock
3) Scissors
4) Ribbon
5) Hole Punch
Step One
Stick Chalkboard Paper to card stock
Step Two
Draw your label shape
Step Three
Cut Out
Step Four
Punch hole in tag
Step Five
Attach Ribbon and attach to gift!
If I had thought about it I would have not made them in front of the kids and used them as my Santa tags!
Subscribe to:
Posts (Atom)