Showing posts with label homemade. Show all posts

Tuesday, 20 December 2011

Embroidered Jam Pot Covers...

Back in the Autumn I made a couple of varieties of chutney as Christmas gifts. Spiced Marrow Chutney and a Tangy Beetroot Chutney using a combination of recipe ideas from this brilliant site. They've been "maturing" since October so should be perfect for the Christmas table by now. The only thing left to do was make them look all Christmassy and add a little personal touch to them; so I opted for some hand embroidered jam pot covers tied with grosgrain ribbon....(I actually had about 12 jars in total but some had already been gifted before I had a chance to take these photos!)


I got all OCD on getting the right size circle for my covers. Just didn't like the idea of cutting a square and trimming it to size once in place. I just KNEW I would screw it up that way. So if anyone else is as mildly obsessive about these things as me here's my method...


I had several sizes of jar so just repeated the process for each different size. Firstly draw round the the lid of the jar on a sheet of paper...


Then find the centre point of the circle by folding it in half lengthwise then across the width. It's actually the circle itself that needs to be folded in half so I held the paper up to the light as I was folding so as to see through it and line the edges of the circle up as I was folding...


Measure the diameter of the circle, let's say this one was 3". Then mark a point the exact same distance, 3", from the centre point, extending out beyond your original circle, on each of the four fold lines...


Then find a plate/bowl/object (or use a compass if you want to be super precise!) and use it to draw a circle that encompasses these four points equally(ish)...


Et voila...Cut out your template(s)....


Because I planned to emroider my covers I cut out heavy weight iron on interfacing the exact same size as my jar lids....


And some squares of fabric (thrifted and upcycled of course!) slightly larger than my templates.....


Place fabric square RS down on the ironing board. Centre the interfacing sticky side down on top of the fabric and press to adhere. Then pin the template on top of this making sure the centre circle of the template lines up with the circle of interfacing....


Cut around the template with pinking shears...


It should look like this...


I then embroidered snowflakes on each cover with embroidery floss. These are a combination of French Knots, Lazy Daisy Stitch, and Back Stitch and took about 15 mins each to do so great as a last minute personal touch...


Secure the covers to the jar tops with elastic bands then tie with ribbon......


There are so many ideas out there for "Gifts in a Jar" and these would add a nice finishing touch to anything in a jar. Not just chutneys  :)
Px

Tuesday, 29 November 2011

Let The Countdown Begin...

A big Hello to all you Crafty Christmas Aficionados from Elisalex at Stitch me Softly...

With just a couple of days until the countdown officially begins, I bring you an(other!) frame repurposing project - an Advent Calendar with little hanging pockets for each day to fill with activity ideas, trinkets, treats, whatever you want.


You can find the full tutorial here (you might want to scroll down a little to avoid only slightly relevant ramblings!), plus ideas on pocket fillers.


Thanks!

Sunday, 13 November 2011

Miscellany table runner finished!

Okay - last post on the Miscellany table runner! Post-Thanksgiving I'll have to seriously get to work on some other projects. But I'm really excited about how this came out and wanted to share a final snap of the finished table runner.

If you want to see it in full glory covered with our Thanksgiving dinner, after I give it to my mom as an early Christmas present, check my blog in about two weeks!

Next time you hear from me, I promise to have a new project!

Sunday, 6 November 2011

Miscellany table runner pinned and ready to quilt

I finished the top of my Miscellany table runner and it's pinned and ready for quilting. Which I hope to find the time for tomorrow. We're a week away from flying home so that's plenty of time to get this done. Right?

If you'd like to see the progress, here are some snaps!


This has been such a fun process. I geekily love the math involved with getting everything to fit the way I want it and if I make a mistake, I just add another piece of fabric. See what I mean?


I LOVE the way it is looking so far and can't wait for it to be covered in yummy Thanksgiving food!


Wednesday, 19 October 2011

First on the list: A Thanksgiving table runner!

Hi everyone! I'm Annie and I'm new to the Crafty Christmas Club. My blog is called The Daily Stitch and it's part of my (soon-to-be) online shop, The Village Haberdashery. I live in London.

I've already been so inspired by your ideas which is good because I need to get started immediately on one! My mum and I host Thanksgiving every year for as many as 30 family members. It's my favourite holiday and we love planning the menu together and cooking, which is a lot of work but so much fun. I always see beautiful tutorials for napkins but I can't imagine making that many and she'd never use most of them the rest of the year. So I thought I'd try a quilted table runner.


But I'm not so into applique so I'm going to piece the front instead. My idea is to make some improvisational blocks like Ashley at Film in the Fridge did in this stunning quilt:

I'm going to use Miscellany by Julia Rothman for Cloud9. Isn't it pretty? I'll sash and back it with the linen.

The catch is that we leave for Seattle for Thanksgiving on the 14th of November AND I'm going to Quilt Market next week! I wanted to give it to her as an early Christmas present since I won't be there for Christmas and so it can be used for Thanksgiving. So it's going to be very, very busy for the next few weeks. I'm hoping to get some hours in on this at the weekend, so I'll be back with an update after that. Wish me luck!

Nice to meet you!

Sunday, 16 October 2011

Stockings and Stacie

Hi everyone! I'm so excited to be a part of the Crafty Christmas Club. I am fairly new on the scene. I've been sewing for one year and started my blog Stacie Thinks She Can last spring.

I have a baby shower coming up this week, and since I have so much Christmas Spirit I have to let it out or explode, I thought I would make the family some stockings!


That beauty with her head in at least one picture of most projects I do is my best friend and assistant. She is a forty pound mutt helping me display the three stockings I made. As you can see I machine embroidered mine, but you could use a billion different kinds of embellishments on them. I'd love to see what you do, so please share.

The fabric amounts depend on your pattern, but a half yard of lining and outer fabric should suffice. I used about an eight inch tall piece for my cuff and 6 inches of ribbon.

Now on to the tutorial. I took this class from a most excellent seamstress and teacher of all things sewing, Jenny. I have to give her credit for teaching me, but she was kind enough to give me permission to use her method for making a fully lined stocking.

First, draw out a stocking and a matching cuff.


Here is my pattern that Jenny created. She told me she googled stockings, and used a template off one she liked. The cuff is just a rectangle twice as wide and twice as tall as the cuff you would like, plus a little extra for seam allowances. 


Second, cut out two stockings out of your outer fabric, and two stockings out of your lining fabric. I just used muslin to line it as well as for my cuff.  


Now place the two lining pieces right sides together and on top of that place the two outer pieces right sides together. Sew around all four pieces, leaving the top of the stocking open, with about a 1/4 inch seam allowance.


Turn the stocking right side out, and place it to the side.


Get out your cuff piece.


Turn your cuff with right sides together, and sew along the short side. Be sure to press that seam open.


Now turn your cuff right sides out, but folded in half to make a circle with wrong sides together. At this point, you should be looking at your cuff as you would expect it to look on your stocking. Press.


Now, place a 6 inch piece of ribbon inside the stocking, aligning it with the seam on the heel side of your stocking with the end of the ribbon aligned with the top as seen above. I like to baste mine in place.


Now, take the cuff and slide it into the stocking touching the lining material and matching the raw edges of the cuff with the raw edges of the top of the stocking.

The view you should see is the cuff and stocking lined up. The print direction of the cuff should face the correct way in alignment with the outside material.


Now sew around the top edges of the stocking sewing the stocking outer pieces, lining, ribbon and cuff together being careful to catch all pieces. I reverse stitch at the start and end of this step.


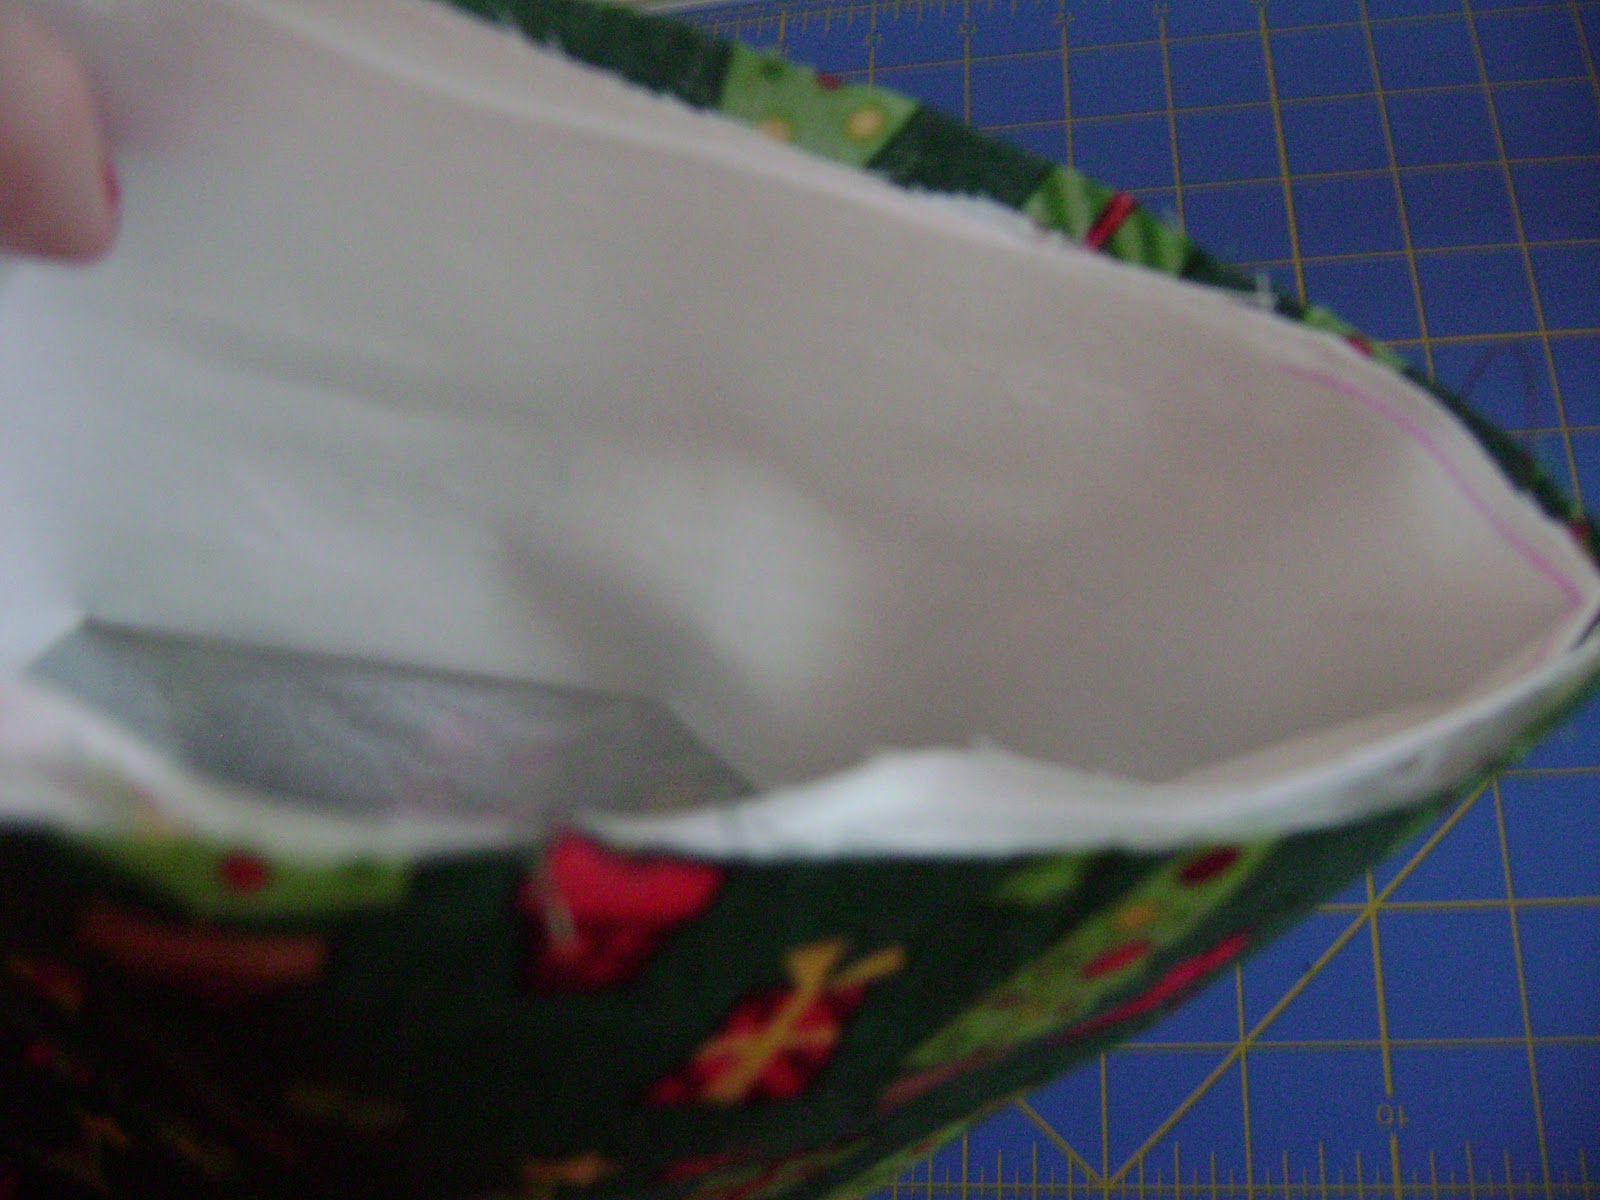
Pull your cuff out, it should look something like this.


Simply fold your cuff over and pull your ribbon hanger out and press!

I can do a few of these in an hour when I attack them assembly line style. I hope they are a hit at my baby shower, and I hope you make a couple as well. 

This pattern could be sturdier by using fusible fleece attached to the lining pieces. 

Friday, 14 October 2011

Christmas Plans

Hello, I'm Vicki and I blog at Vicki Kate Makes.  This is my first year here at the Crafty Christmas Club and I've loved going back through last years posts - there's so much inspiration there!

These are my plans for this year:

Mum - a photo calendar
Dad - a photo desk calendar and some lebkuchen or biscotti or both!
Husband - waiting for inspiration to strike?!
Boy - Husband is making him a toylander.  Does that count as handmade - I think it does!  I may make him a cuddly dinosaur too from this pattern.
Jess - Makeup brush roll with some new brushes
Adam - I have no idea!  May well end up being bought and some baking thrown in.
Beccy - Cookie mix jar and a purse, maybe using this pattern with some little makeup bits in
John - Again, no idea.  Probably something to do with books or cheese.  So maybe a book voucher and some cheese straws?
Ian - Aarrghhh!  Why are blokes so hard to think of present for???  May well be really unimaginative and give him a voucher of some sort and some baked goodies.
Jo - Purse and something else.  Will have to ask Ian for suggestions!
Husband' Mum - What do you give your MIL?  She's not the most appreciative person so it may well end up being a bought present, or vouchers in a handmade card.  Or possibly a terranium as she likes her garden and plants.
Husband's Mum's Boyfriend -  Another man that I have no ideas for!
Husband's Dad - Photo Calendar
GG - Chocolates from Hotel Chocolat and a framed photo of Husband and Boy
Uncle Pete - Bottle of port

I'm also hosting Christmas Dinner this year.  So I'll be making cranberry sauce with port (nom nom), the christmas pudding in the next couple of weeks and a christmas cake, again in the next couple of weeks so it can mature and be fed!  We also make brandy sauce to do with the pud which often ends up with a LOT of brandy in it.  I have to admit my go to is Nigella's Christmas for a lot of the recipes so I'll have to go through the book and plan the menu.

I'd also like to make some bunting for Boy's new bedroom.  I'll also make the wreath for the door.  As for other decorations it depends on what inspiration strikes.

Now that I've written it all out, that's quite a lot!  Ah well, slow and steady...  There's still 71 days!

Wednesday, 22 December 2010

Christmas Wrapping Ideas & Quick Tutorial

As per my last post, I've been playing about with making pleated paper bands with which to embellish our gifts this year. I'm rather pleased with the result and have kept it simple by just adding a narrow ribbon and neat bow to finish.

If you like the idea, it's really easy. To make the band I measured out some guidelines on the back of a length of contrasting wrapping paper. But you can do it by eye as well. (I'm rubbish at that though!)

I spaced them about an inch apart and used the edge of my metre rule to fold them smooth along the edge. Folding one way, then the other, to create a concertina effect.

I then pressed the band under a pressing cloth using a warm, dry iron. Just to sharpen the folds really, and  keep it nice and flat.

I wrapped it pretty snug around my gift, (don't want it sliding off or moving about) trimming of the excess and securing it at the back with sticky tape.

I added a very simple bow in a contrasting colour to finish. I'm alternating the green and turquoise ribbons on different gifts to tie in with the main wrapping paper.

To make these bands for EVERY gift would be too time consuming for my liking (and for the time I have left!) so I've compromised by alternating between plain (see right) and pleated bands on different gifts.


Now I know what I'm doing, should have it all finished by tomorrow!

Tuesday, 21 December 2010

Wrapping is underway.....

It's funny how writing about the things that you do, makes you realise "stuff" about yourself. I am pretty methodical when I approach projects. Sometimes I look at the ordered manner of things in process and think "wow, that girl has control issues!!" Then I remember that "that girl" is me,and put it down to simple efficiency!

When I'm wrapping lots at once, I  keep everything pretty uniform and identical. It's quicker that way. Much as I get a kick out of gift wrapping, I don't have the time or inclination to spend days on it! I'll wrap everything first, then embellish and label them all in one go. (I use trusty post it notes to keep track of who's gift is who's). .Here they are all stacked, labelled and ready.

Next phase will be to add tags and embellishments. I have my handmade tags all ready to go as per the tutorial I posted. I have all my ribbon ready as well. I've just bought some red matt metallic paper that I'm going to try as pleated bands wrapped around each gift. Not sure of the detail yet, or whether it will work out, but that's the plan for tomorrow. Would love to see other peoples wrapping on here!

http://portialawrie.blogspot.com/search/label/Crafty%20Christmas%20Capers

Friday, 17 December 2010

Homemade Salt Dough Decorations (inc Tutorial)

I wanted to have a go at these last year but time ran away with me! It's such a traditional craft that puts me in mind of the autumn harvest festivals at church when I was little. But I think salt dough lends itself to all sorts of things. (Loads more info here) It's kind of like a store cupboard Fimo!

For the Salt Dough You'll Need: 2 cups of Plain Flour, 1 cup of Table Salt, 1 cup Water (cool but not cold). Mixing bowl, rolling pin, cookie cutters,  palette knife, baking tray, greaseproof paper, cooling rack.
You can mix up any amount of dough you like as long as you stick to this ratio. 2 parts flour to 1 part each of salt and water.

Method: Mix the flour and salt in a bowl. Make a well in the centre and pour in a little of the water and mix. Keep adding the water a little at a time, (You may not need all of the water) & mix until it starts to form a dough. Then squeeze, knead & roll in your hands until it's a smooth, pliable ball of dough.

Lightly flour your work surface and rolling pin and roll out the dough to about 50mm thickness. Cut out shapes using cookie cutters, or freehand if you're a bit more skilled than I am. I left the surface of my shapes plain as I'm going to paint them. But I guess at this stage you could carefully etch patterns or designs into the surface.

Carefully lift your shapes, using a palette knife, onto a baking sheet covered in greaseproof paper. (A couple of my stars got stuck because I didn't flour my work surface properly). Punch out holes for hanging ribbons. (I used a sturdy drinking straw for this)

Bake in the oven for an hour on a low heat (say 60C) turning them over half way through. Then turn them out onto a wire rack and leave until completely cool.  Leave for another 24 hrs before painting or varnishing, which hopefully we shall be doing this weekend....