Showing posts with label tutorials. Show all posts

Friday, 23 December 2011

Extreme last minute crafting

Hello again, Aleah from no time to sew with my last (last minute) crafty gifts. First up, made the night before it was gifted, a couple things for a work friend:

The first is a purse organizer and a small zipper pouch. She always wants to change her purses to match her outfits, but complains about what a pain it is to transfer all her purse contents all the time, so I thought this might help. It's basically a strip of pockets that she can fill with purse stuff, roll up and stick in one purse, then pull it out and move it to another purse easily. I just winged the construction, more details here. The zipper pouch is from this tutorial.
The second item is this super simple jersey circle scarf. This has got to be the easiest gift of all time to make. I bought a third of a yard of jersey from the bulk bin at my local fabric shop. I trimmed off the selvages, then used a ruler and rotary cutter to make the long edges nice and straight, and sewed the short ends together. Done. So if it happens to be Christmas Eve and you're one gift short, might I suggest a jersey circle scarf? I think it took me longer to buy the fabric than to make the scarf, seriously.

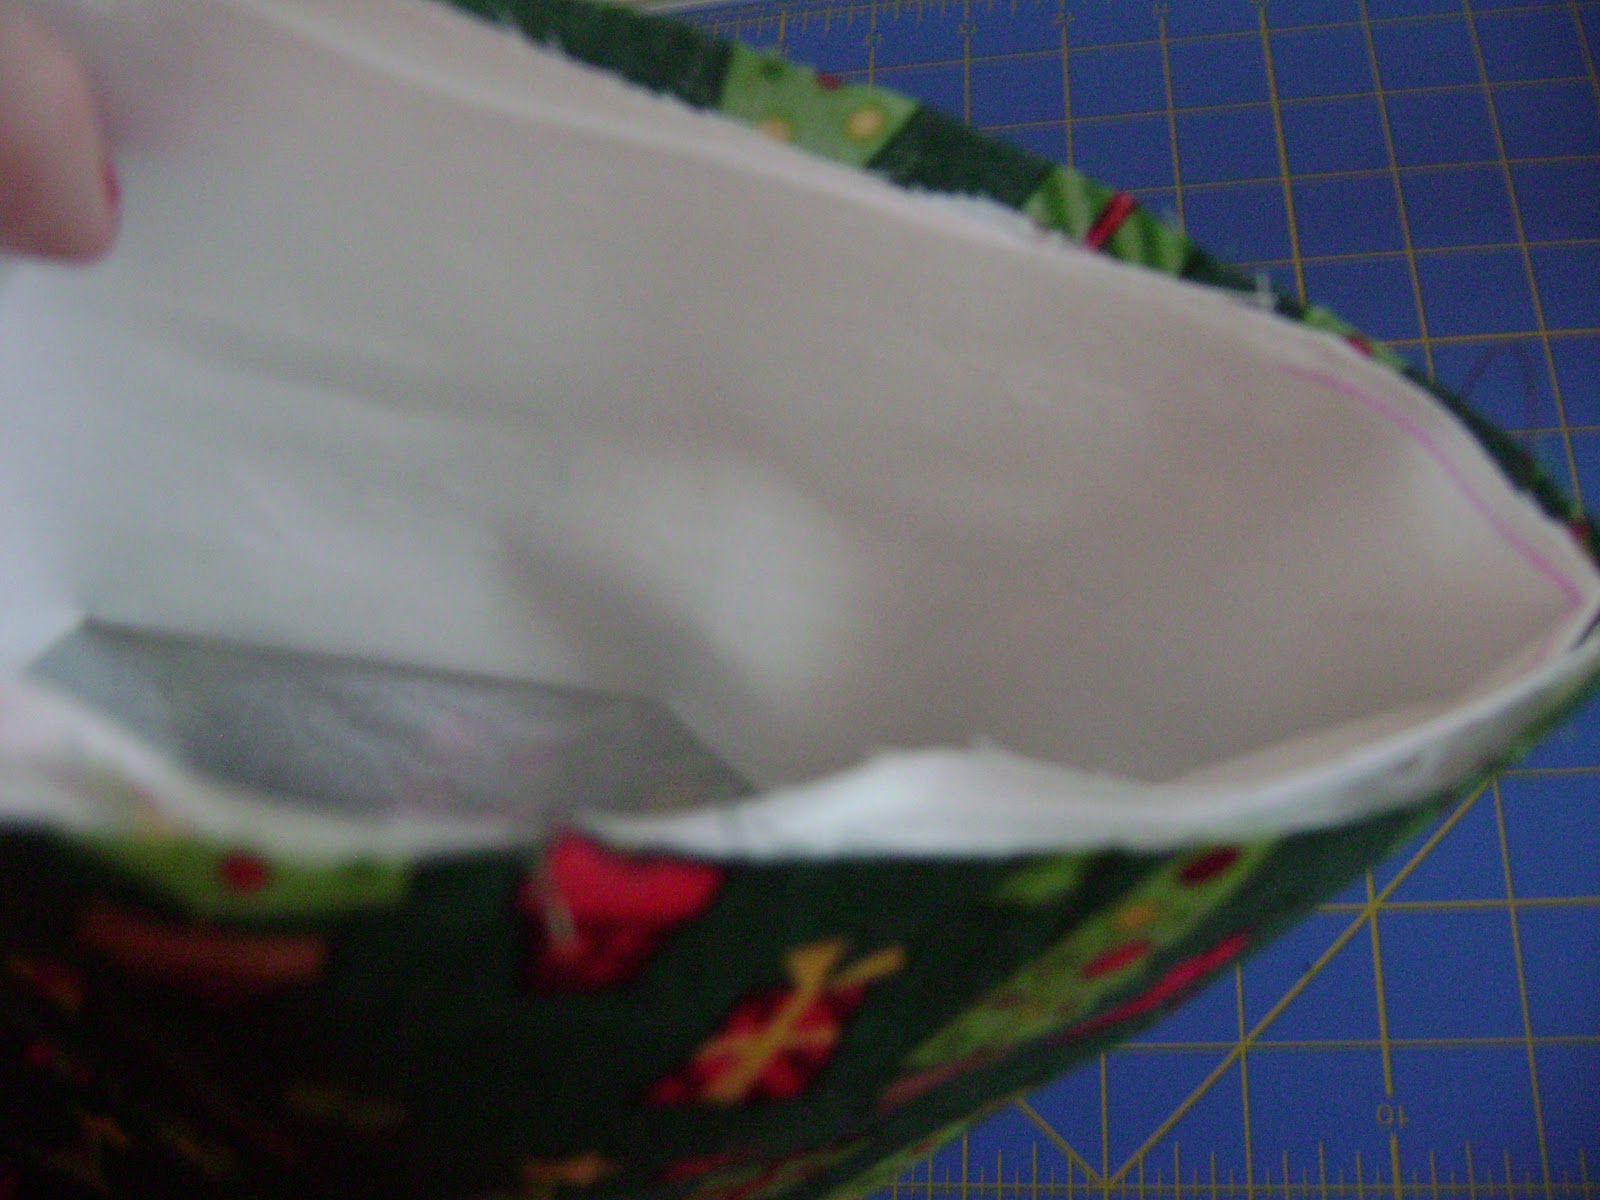
I also made my mom a case for the Kindle Fire my dad is getting her:
It's basically from this tutorial, resized for a Kindle (luckily, it turns out that the dimensions of the Fire are the same as my regular old Kindle, so I made this case the same size as one I made earlier in the year for myself). I lined the case with a scrap of black corduroy left over from a skirt I made last year. The lining is visible around all the edges, of course, because my lining always seems to end up bigger than my outside fabric for some reason, but I'm just going to pretend it was intentional since it kind of looks like trim. Here it is open, with my Kindle in it. The bird screen saver seemed appropriate for the fabric (it's Alexander Henry's Bird Seed, which my mom actually gave me last year because she liked it but couldn't think of anything to make with it!)
So woo-hoo, Christmas Crafting complete! Have a Merry Christmas, everyone. May it be filled with family, friends, food, and plenty of crafty gifts too!


Tuesday, 20 December 2011

Embroidered Jam Pot Covers...

Back in the Autumn I made a couple of varieties of chutney as Christmas gifts. Spiced Marrow Chutney and a Tangy Beetroot Chutney using a combination of recipe ideas from this brilliant site. They've been "maturing" since October so should be perfect for the Christmas table by now. The only thing left to do was make them look all Christmassy and add a little personal touch to them; so I opted for some hand embroidered jam pot covers tied with grosgrain ribbon....(I actually had about 12 jars in total but some had already been gifted before I had a chance to take these photos!)


I got all OCD on getting the right size circle for my covers. Just didn't like the idea of cutting a square and trimming it to size once in place. I just KNEW I would screw it up that way. So if anyone else is as mildly obsessive about these things as me here's my method...


I had several sizes of jar so just repeated the process for each different size. Firstly draw round the the lid of the jar on a sheet of paper...


Then find the centre point of the circle by folding it in half lengthwise then across the width. It's actually the circle itself that needs to be folded in half so I held the paper up to the light as I was folding so as to see through it and line the edges of the circle up as I was folding...


Measure the diameter of the circle, let's say this one was 3". Then mark a point the exact same distance, 3", from the centre point, extending out beyond your original circle, on each of the four fold lines...


Then find a plate/bowl/object (or use a compass if you want to be super precise!) and use it to draw a circle that encompasses these four points equally(ish)...


Et voila...Cut out your template(s)....


Because I planned to emroider my covers I cut out heavy weight iron on interfacing the exact same size as my jar lids....


And some squares of fabric (thrifted and upcycled of course!) slightly larger than my templates.....


Place fabric square RS down on the ironing board. Centre the interfacing sticky side down on top of the fabric and press to adhere. Then pin the template on top of this making sure the centre circle of the template lines up with the circle of interfacing....


Cut around the template with pinking shears...


It should look like this...


I then embroidered snowflakes on each cover with embroidery floss. These are a combination of French Knots, Lazy Daisy Stitch, and Back Stitch and took about 15 mins each to do so great as a last minute personal touch...


Secure the covers to the jar tops with elastic bands then tie with ribbon......


There are so many ideas out there for "Gifts in a Jar" and these would add a nice finishing touch to anything in a jar. Not just chutneys  :)
Px

Tuesday, 13 December 2011

Cloth napkins and an iPad Cover

Hello fellow crafters. It's Andrea from Stitch Parade with another update. I’m going to keep this one short and sweet because the holidays are approaching at light speed and we’re all super busy, no doubt. On that note, if you’re running out of time, own a serger, and have a metre of colourful quilting cotton in your stash, I have the perfect hostess gift for you: cloth napkins! I made the two sets below in less than an hour.

Here’s how: After pre-washing your fabric cut it into rectangles approximately 18”x 14”. You should be able to get six rectangles out of a yard/metre of 44” wide fabric. Once you have your rectangles ready, set your serger to the rolled hem setting and serge each side. Finish it off by cutting away any stray threads and sealing each corner with a bit of fray check. Let the fray check dry, press and fold – you’re done!

The corners may look a bit frail, but I can assure you they are not. I made a set for myself about a year ago and after several washes, the ends have held up quite nicely.

On to a totally different kind of present, I also made this iPad cover for my mother-in-law. I wish I could show you what it looks like with the iPad inside of it, but I don’t own and iPad so fingers crossed it will fit.

This project also took me less than an hour to complete. If you are interested in making one, here’s a link to the tutorial I used, which includes a picture of the finished product with the iPad safely ensconced inside.
Hope everyone is enjoying the holiday crafting frenzy!

Saturday, 10 December 2011

A clutch and two wallets

Hi, it's Aleah from no time to sew. I've finished a few gifts! Having sewn garments exclusively for a while, I'd kind of forgotten how quickly little bags/pouches go together (and how little fabric they use), and I was able to finish these three things in two evenings - crazy (for me, anyway)! First I have gifts for my interns at work, both from both from terrific tutorials from Noodlehead:

The top one (for my female intern) is the gathered clutch, a fun take on a regular zipper pouch that is really pretty and not really much more effort. I added a removable wrist strap by sewing a tab with a d-ring into the side seam and attaching a strap to a tiny dog clip. Her favorite colors are purple and black, so I was glad to find this fabric. The bottom item (for my male intern) is the zippy wallet. I love the pearl snap on the little tab! I added a key ring in case he wants to clip it to his keys or belt. It's so hard to find adult-male-appropriate fabric, but I like this plaid. It's a thin shirting, but I interfaced it with a sturdier interfacing. Check out all the other great tutorials at Noodlehead if you need a last-minute quickie gift!
I also made this wallet for my mom:

The pattern is this one from Dixie DIY. I made just a couple changes - I used a magnetic snap rather than a button/loop, only put in one money pocket, and I made my zipper pocket the same way as on my messenger bag instead of how she instructs. I love this fabric!
So that's all for now, but I hope I can keep up this pace for a while longer and have some more things to share soon. Happy Making!

Friday, 9 December 2011

A -Slightly Psychedelic- Pompom Wreath

Only 2 weeks to go...!

Elisalex here, howdy!  With the majority of my presents done and ticked off the list, I'm now turning my attention to decorating...


For some reason, traditional Christmas Wreaths have always felt a little morbid and ominous to me.  Dark, spiky and somewhat reminiscent of funerals.  Beautiful, but depressing.  But then I saw this Pompom Wreath, and this tutorial from JCasa*Handmade, and I knew what I had to do.


For the wreath's structure I used some foam tubing from the hardware store and a coat hanger to create the shape -


Then made a bunch of pompoms in my favourite reds-dusty pinks-off whites colour combination and tied them securely onto the foam tubing.  To finish I wound around some woodland mushroom fairy lights I had (which I think look a little too acid-y when switched on, but perfectly cute -and innocent- left off) and attached a grosgrain ribbon loop so it can be hung. 


But no way is this wreath getting hung outside... I've become very fond of its sweet, not at all morbid or ominous, and very soft self.  I couldn't possibly risk it getting rained on or stolen, and most of all I want it inside where can appreciate it.

Wednesday, 7 December 2011

Bags, bags, bags! (and tutorial links)

Hello fellow Christmas Crafters. This is Andrea from Stitch Parade checking in with an update on my pressie making progress thus far. I must confess it’s been great reading about your own progress and I’ve been inspired by the great present ideas you’ve all had.

With less than 3 weeks to go, I’m about 80% done but it’s been raining cats and dogs in Toronto for days so I’ve not been able to get pictures of all my makes. Today I’ll show you what I’ve got so far in the bags department. First up, toiletries bags for my dad and brother:


I learned to make these bags a couple years ago at The Workroom, a local sewing studio, but the process is super easy and I even fund an online tutorial for you over here. For these bags I was able to up-cycle wool materials from hardly worn trousers I rescued from a friend’s Goodwill pile. I figured the look was manly enough. What do you think?


For the ladies I made clutches using a pattern also from The Workroom. I used some leather scraps for two of them, quilting cotton for another two, and the leftover embroidered border denim from my Ginger skirt for the last one.


All bags, except for the leather clutches, are interfaced for structure, include an internal pocket, and are also lined with contrasting cotton fabric for a fun pop of colour.


If you are interested in making similar clutches I found this handy tutorial here. As an FYI, the frames can be bought from several vendors via etsy.


Hopefully we get some sunshine this coming weekend so that I can photograph some of the other presents I’ve made. Wishing you all days of absolute present making productivity over the next couple of weeks!

Messenger Bag Tutorial

Hi, I'm Aleah and I blog at no time to sew. I'm getting a bit of a late start on my Christmas crafting, mostly because I've been working on a production of A Christmas Carol since October so I've been practicing Holiday Avoidance in my personal life... but now I'm starting to get really excited about making presents so I'm kicking into gear!
I've just posted a tutorial for a small messenger bag, and I wanted to share it here for anyone with a bike commuter/bike lover in their lives, or just anyone who wants a cute adjustable-strap messenger bag! Here's a look at my design - it's got a three panel front with a pocket, and a bunch of internal pockets.

The full tutorial is here. Happy Making!

Saturday, 3 December 2011

Smokey barbeque sauce

Well howdy partners! Stitchybritt back here to show y'all how to make-up some super smokin' barbeque style sauce.  It's really quite easy, just involves a lot of chopping and smoking up your kitchen a bit.  Are you ready?  Let's go!


You are going to need:
1kg of tomatoes
1 red capsicum
1 onion
2 chillies
3 garlic cloves
worstershire sauce
vinegar
brown sugar
tea (yes, tea!)
a selection of spices (my mix has cinnamon, peppercorns, star anise, chilli flakes, fennel seeds - but you can use whatever is your cupboard really)


Ok, so the first thing you need to do is to get some kitchen foil and make a little bowl shape, like this:


You're going to put a few tablespoons of tea leaves and about a tablespoon of each of your spices in the little foil bowl (it's not an exact science) and put this in the bottom of your saucepan.  Straight onto the bottom - no oil or anything else.  This is going to be where the smokey goodness comes from.

Next, roughly chop your onion and capsicum into large chunks and put them in a steamer basket in the saucepan on top of your smokey mix.  Throw the chillies and the garlic cloves in there too.  Now - put the lid and the heat on!  It shouldn't take long before the spices start smoking your vegetables.  You probably want to smoke them for about 10-15 mins.


This is probably a good time to open your windows, or you might smoke out your kitchen!


As this is going on you can start to dice your tomatoes, and pop them aside until a little later.

Now that your veggies are totally smoked you need to chop them very finely (see I told you - lots of chopping).  You don't need your spicey smokey mix anymore so this can go in the bin.  Take your finely chopped veggies and give them a bit of a fry in a little oil.

Next, add your diced tomatoes.  Cook them until the sauce is looking all pulpy.  It's smelling good, isn't it?


Next add a good slosh of worstershire sauce and an even bigger slosh of vinegar (about half a cup?).  Also stir in 3 tablespoons of brown sugar.  Obviously, these measurements (if you can call them that) are estimates; your sauce will still end up good with a little more or a little less of these ingredients.  Let the whole lot simmer for around 25 mins.  Then you're ready to bottle it up!

Fill your hot sterilized jars with your sauce and screw the lids on.  And there you have it!  Smokey barbeque sauce!


Of course you might want to put some cute 'hats' on them to pretty them up, and I'm thinking of making some cowboy themed labels.  Yee-har!

This sauce is best kept in the fridge.  If you live in a colder climate it should be fine to be kept out until you give it as a gift, but if you're about to encounter some 30+ degree days (like here in Sydney) I recommend keeping your jars in the fridge until they're ready to give.

Enjoy!


Stitchybritt xx

Sunday, 16 October 2011

Stockings and Stacie

Hi everyone! I'm so excited to be a part of the Crafty Christmas Club. I am fairly new on the scene. I've been sewing for one year and started my blog Stacie Thinks She Can last spring.

I have a baby shower coming up this week, and since I have so much Christmas Spirit I have to let it out or explode, I thought I would make the family some stockings!


That beauty with her head in at least one picture of most projects I do is my best friend and assistant. She is a forty pound mutt helping me display the three stockings I made. As you can see I machine embroidered mine, but you could use a billion different kinds of embellishments on them. I'd love to see what you do, so please share.

The fabric amounts depend on your pattern, but a half yard of lining and outer fabric should suffice. I used about an eight inch tall piece for my cuff and 6 inches of ribbon.

Now on to the tutorial. I took this class from a most excellent seamstress and teacher of all things sewing, Jenny. I have to give her credit for teaching me, but she was kind enough to give me permission to use her method for making a fully lined stocking.

First, draw out a stocking and a matching cuff.


Here is my pattern that Jenny created. She told me she googled stockings, and used a template off one she liked. The cuff is just a rectangle twice as wide and twice as tall as the cuff you would like, plus a little extra for seam allowances. 


Second, cut out two stockings out of your outer fabric, and two stockings out of your lining fabric. I just used muslin to line it as well as for my cuff.  


Now place the two lining pieces right sides together and on top of that place the two outer pieces right sides together. Sew around all four pieces, leaving the top of the stocking open, with about a 1/4 inch seam allowance.


Turn the stocking right side out, and place it to the side.


Get out your cuff piece.


Turn your cuff with right sides together, and sew along the short side. Be sure to press that seam open.


Now turn your cuff right sides out, but folded in half to make a circle with wrong sides together. At this point, you should be looking at your cuff as you would expect it to look on your stocking. Press.


Now, place a 6 inch piece of ribbon inside the stocking, aligning it with the seam on the heel side of your stocking with the end of the ribbon aligned with the top as seen above. I like to baste mine in place.


Now, take the cuff and slide it into the stocking touching the lining material and matching the raw edges of the cuff with the raw edges of the top of the stocking.

The view you should see is the cuff and stocking lined up. The print direction of the cuff should face the correct way in alignment with the outside material.


Now sew around the top edges of the stocking sewing the stocking outer pieces, lining, ribbon and cuff together being careful to catch all pieces. I reverse stitch at the start and end of this step.


Pull your cuff out, it should look something like this.


Simply fold your cuff over and pull your ribbon hanger out and press!

I can do a few of these in an hour when I attack them assembly line style. I hope they are a hit at my baby shower, and I hope you make a couple as well. 

This pattern could be sturdier by using fusible fleece attached to the lining pieces.