Hi everyone! I'm so excited to be a part of the Crafty Christmas Club. I am fairly new on the scene. I've been sewing for one year and started my blog
Stacie Thinks She Can last spring.
I have a baby shower coming up this week, and since I have so much Christmas Spirit I have to let it out or explode, I thought I would make the family some stockings!
That beauty with her head in at least one picture of most projects I do is my best friend and assistant. She is a forty pound mutt helping me display the three stockings I made. As you can see I machine embroidered mine, but you could use a billion different kinds of embellishments on them. I'd love to see what you do, so please share.
The fabric amounts depend on your pattern, but a half yard of lining and outer fabric should suffice. I used about an eight inch tall piece for my cuff and 6 inches of ribbon.
Now on to the tutorial. I took this class from a most excellent seamstress and teacher of all things sewing,
Jenny. I have to give her credit for teaching me, but she was kind enough to give me permission to use her method for making a fully lined stocking.
First, draw out a stocking and a matching cuff.
Here is my pattern that Jenny created. She told me she googled stockings, and used a template off one she liked. The cuff is just a rectangle twice as wide and twice as tall as the cuff you would like, plus a little extra for seam allowances.
Second, cut out two stockings out of your outer fabric, and two stockings out of your lining fabric. I just used muslin to line it as well as for my cuff.
Now place the two lining pieces right sides together and on top of that place the two outer pieces right sides together. Sew around all four pieces, leaving the top of the stocking open, with about a 1/4 inch seam allowance.
Turn the stocking right side out, and place it to the side.
Get out your cuff piece.
Turn your cuff with right sides together, and sew along the short side. Be sure to press that seam open.
Now turn your cuff right sides out, but folded in half to make a circle with wrong sides together. At this point, you should be looking at your cuff as you would expect it to look on your stocking. Press.
Now, place a 6 inch piece of ribbon inside the stocking, aligning it with the seam on the heel side of your stocking with the end of the ribbon aligned with the top as seen above. I like to baste mine in place.
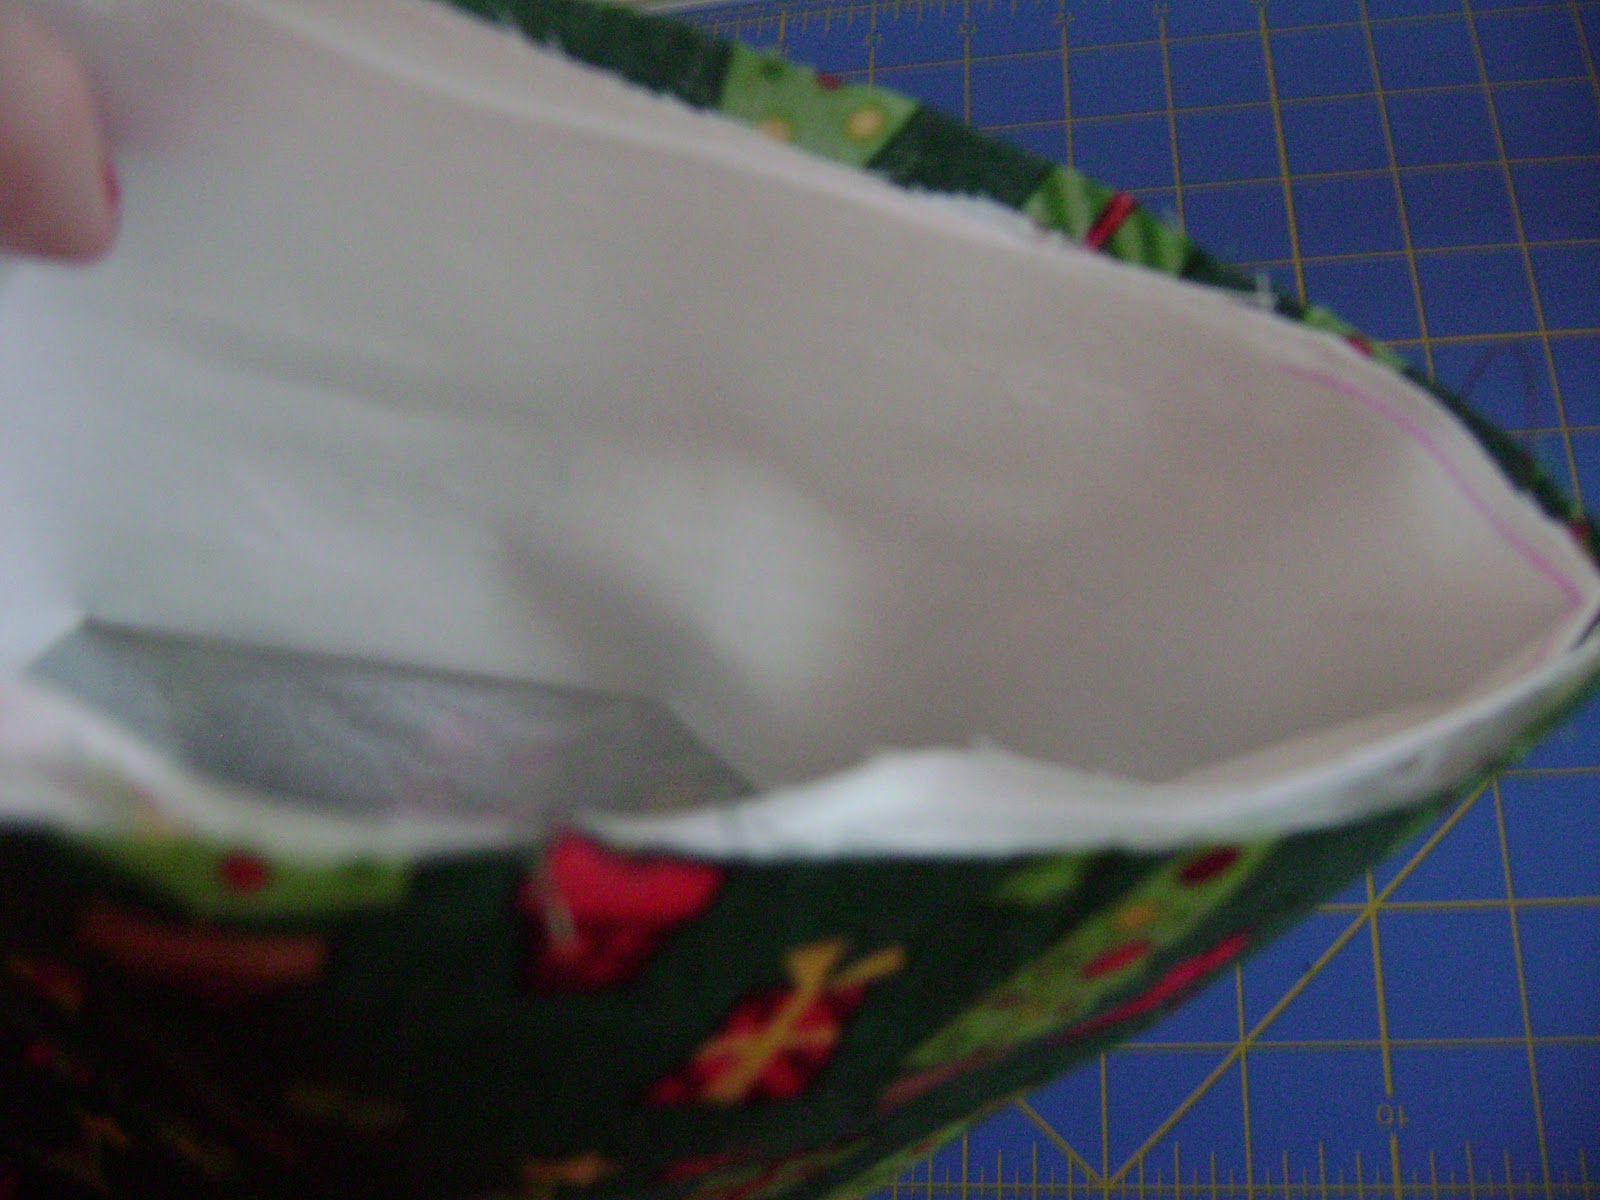
Now, take the cuff and slide it into the stocking touching the lining material and matching the raw edges of the cuff with the raw edges of the top of the stocking.
The view you should see is the cuff and stocking lined up. The print direction of the cuff should face the correct way in alignment with the outside material.
Now sew around the top edges of the stocking sewing the stocking outer pieces, lining, ribbon and cuff together being careful to catch all pieces. I reverse stitch at the start and end of this step.
Pull your cuff out, it should look something like this.
Simply fold your cuff over and pull your ribbon hanger out and press!
I can do a few of these in an hour when I attack them assembly line style. I hope they are a hit at my baby shower, and I hope you make a couple as well.
This pattern could be sturdier by using fusible fleece attached to the lining pieces.